Create signing certificate for App Control Policies
App Control policies can be signed to protect them from tampering. To improve security, signed policies cannot be changed or removed after deployment to an Agent machine, unless the new policy is signed with a trusted certificate. This prevents an attacker, or even a local administrator, from disabling or replacing the policy.
Note
For the policy sign option you'll need version 5.2.36 or higher.
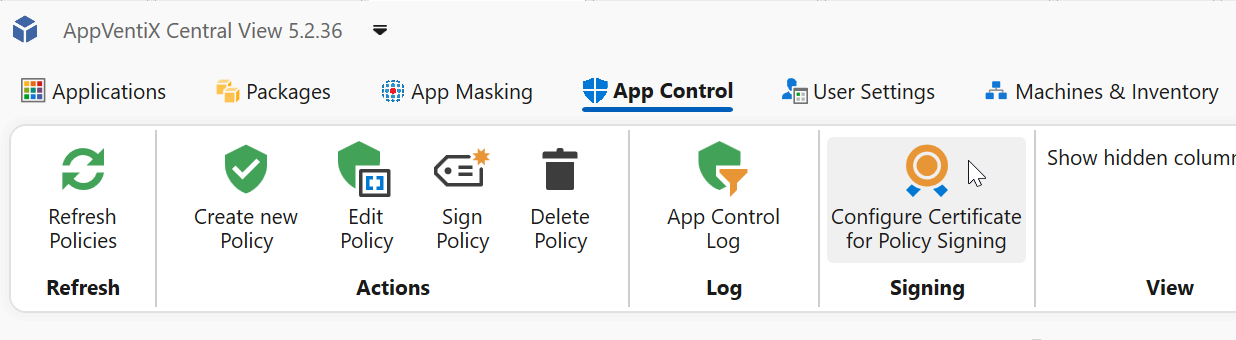
Click Configure Certificate for Policy Signing.
Note
An Azure Artifact account is not free; this is a paid option provided by Microsoft.
Here you have two options:
Generate self-signed certificate
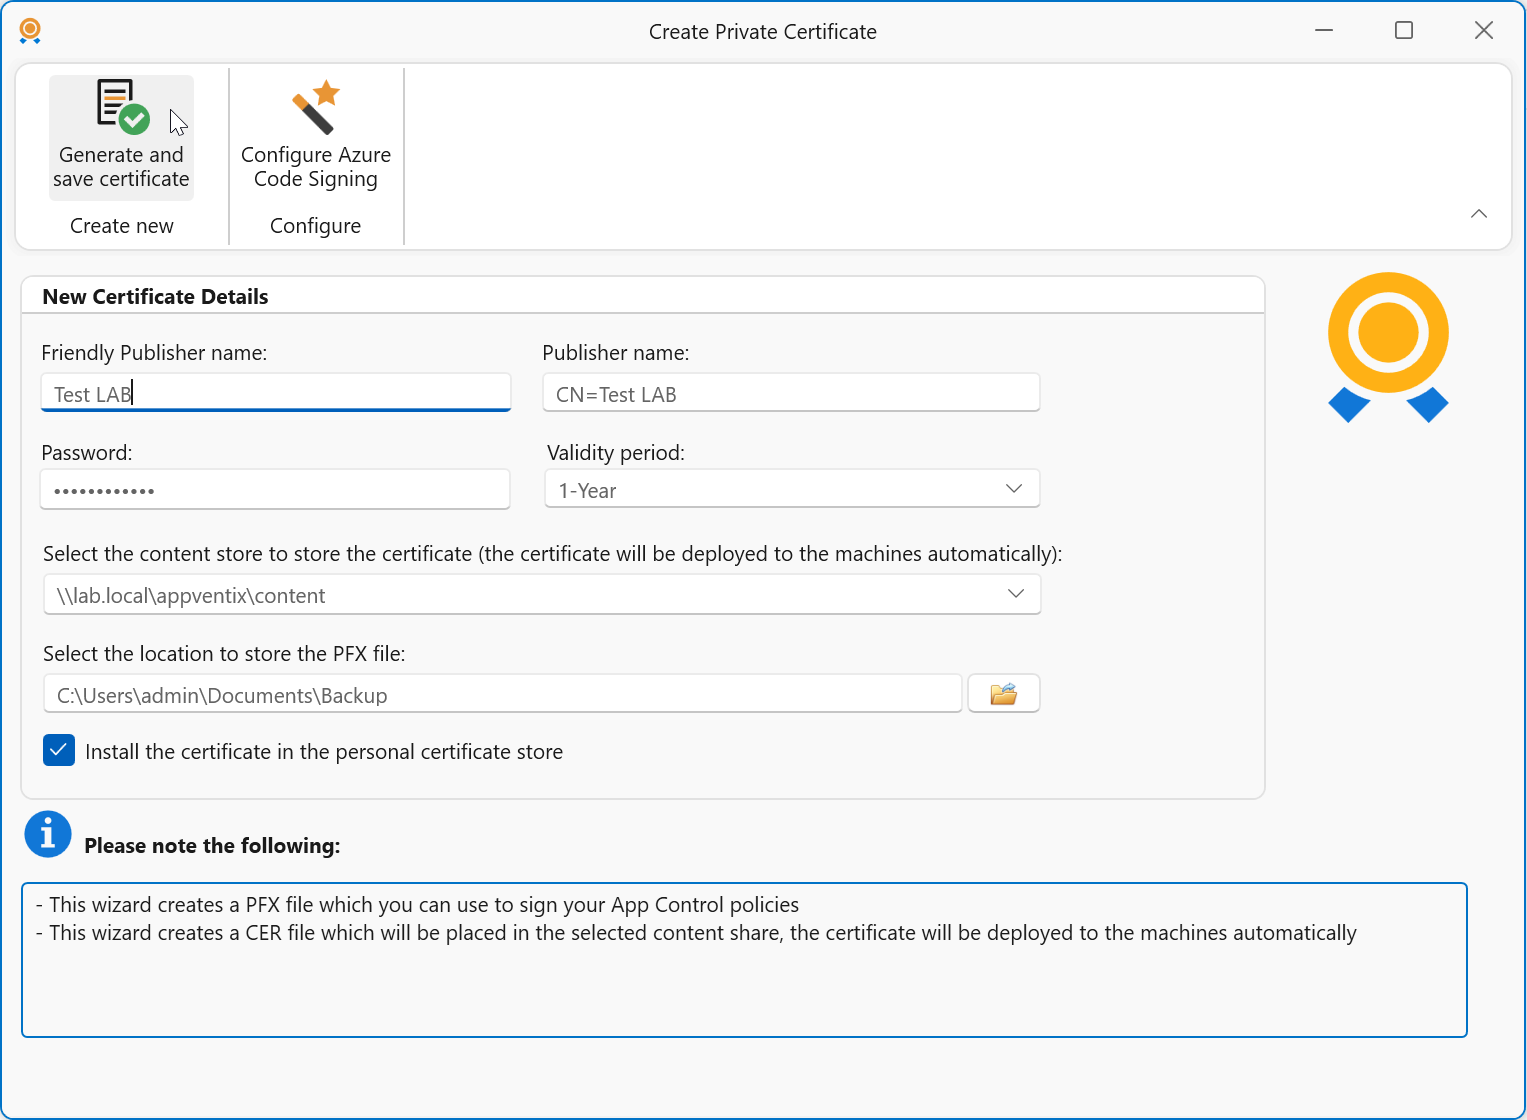
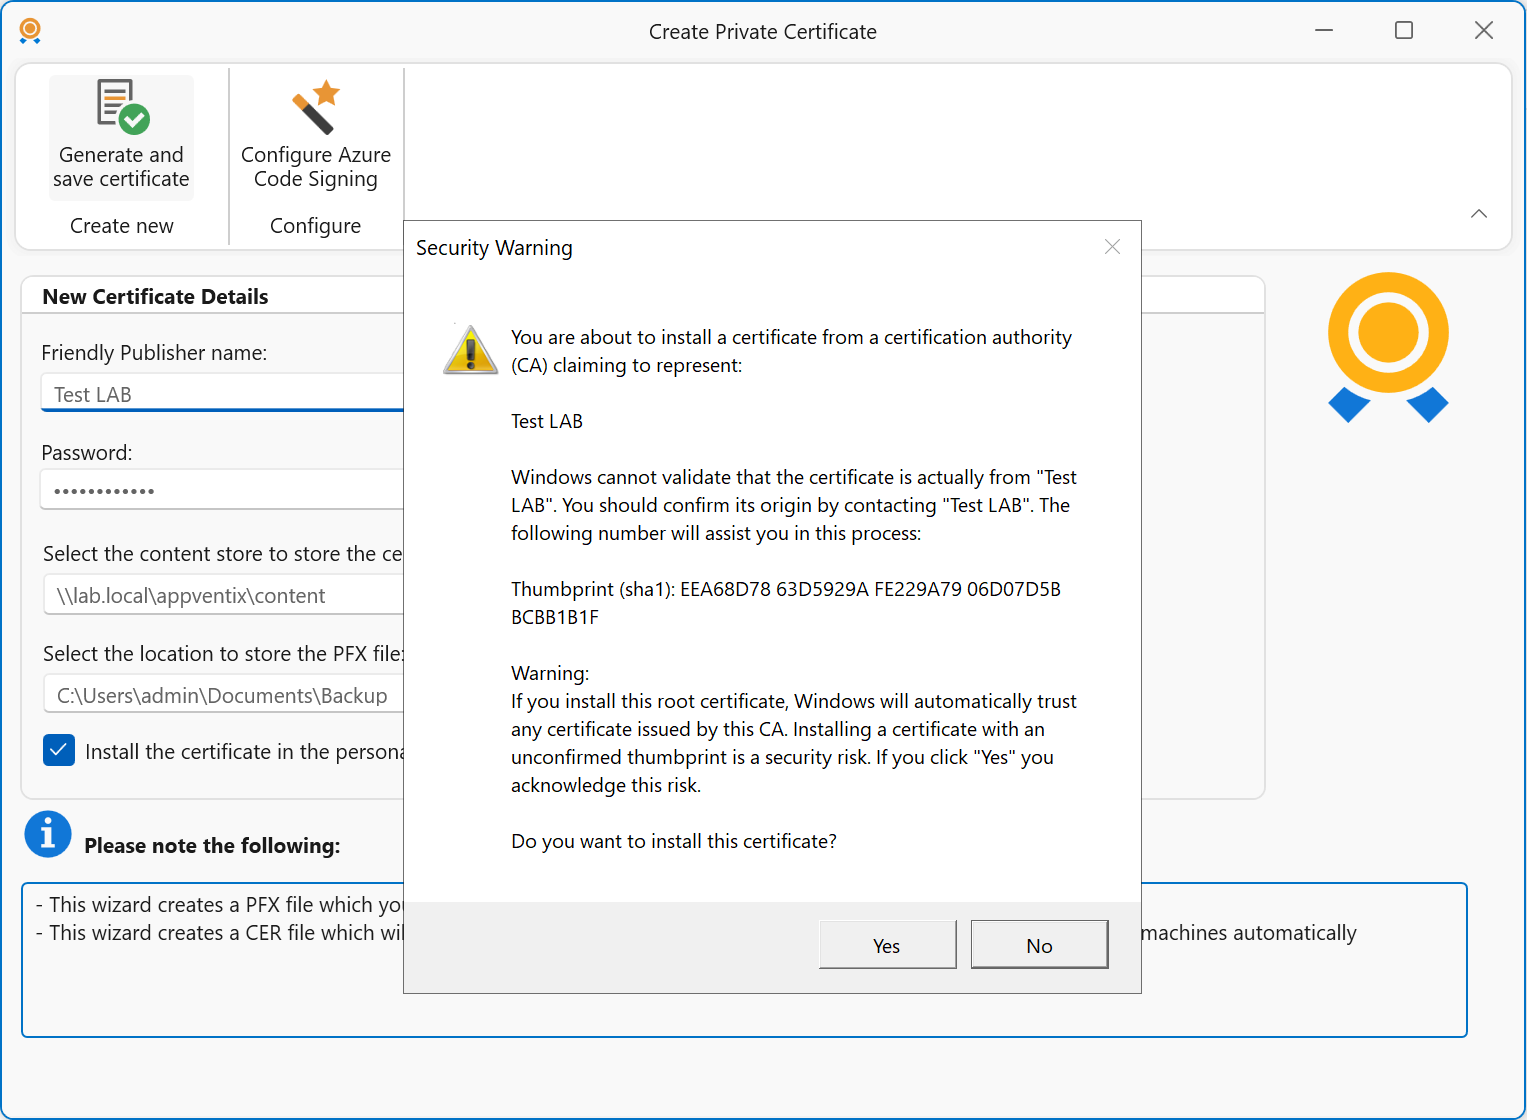
Fill the fields with your details, enter a password, select a validity period, the location of the content store, and the directory where the generated PFX is stored. Select the checkbox to install the certificate in the machine's personal store. Next, click Generate and save certificate.
Click Yes to continue or No to cancel.
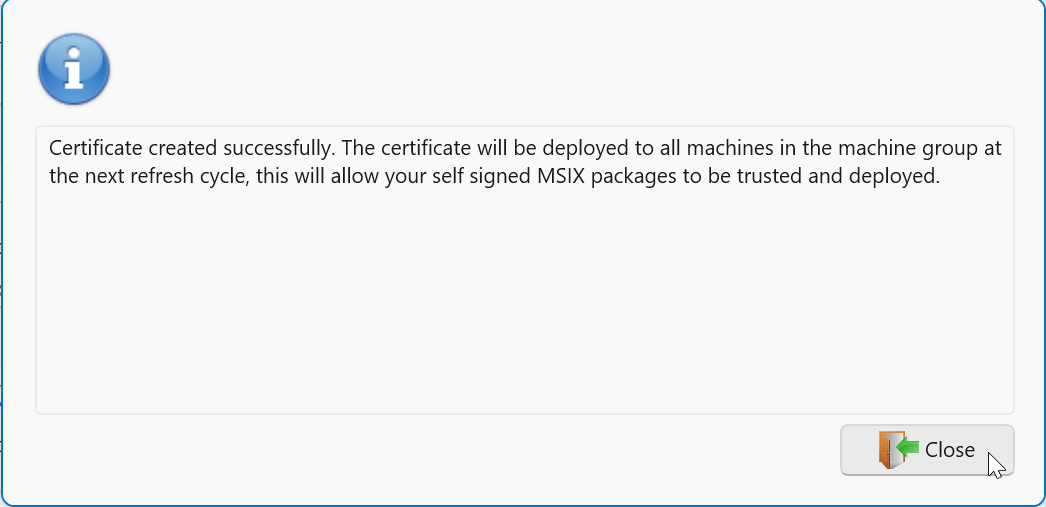
Click Close.
Create Azure Code Signing certificate
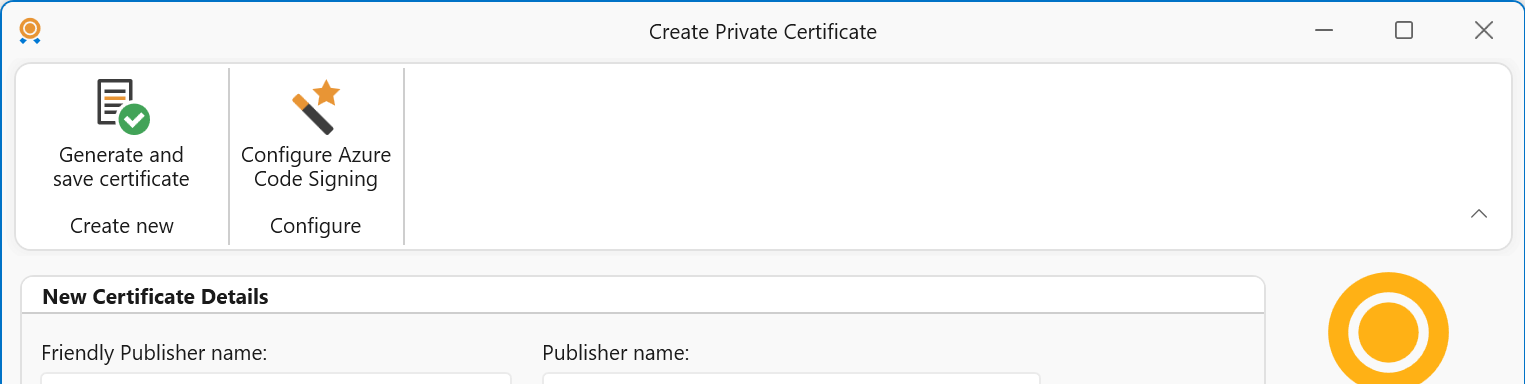
Click Configure Azure Code Signing.

Here you have two options:
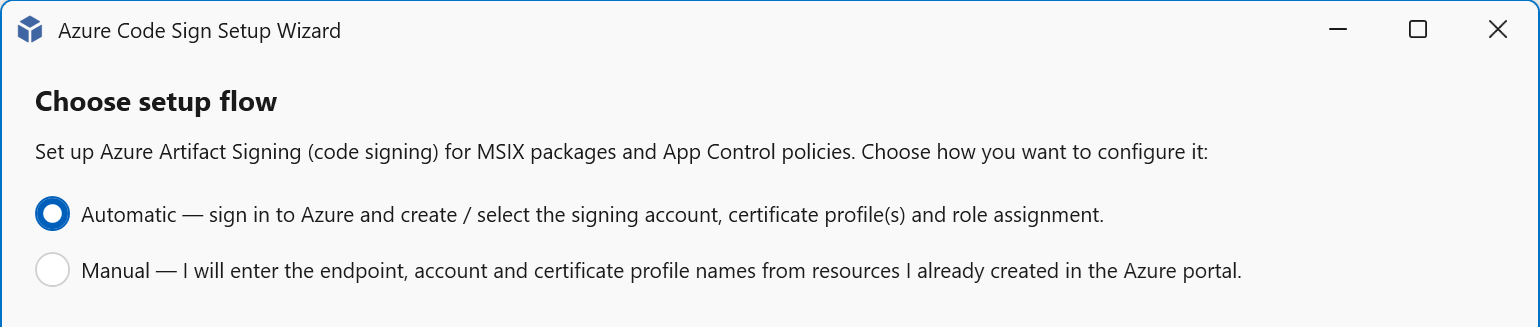
Automatic
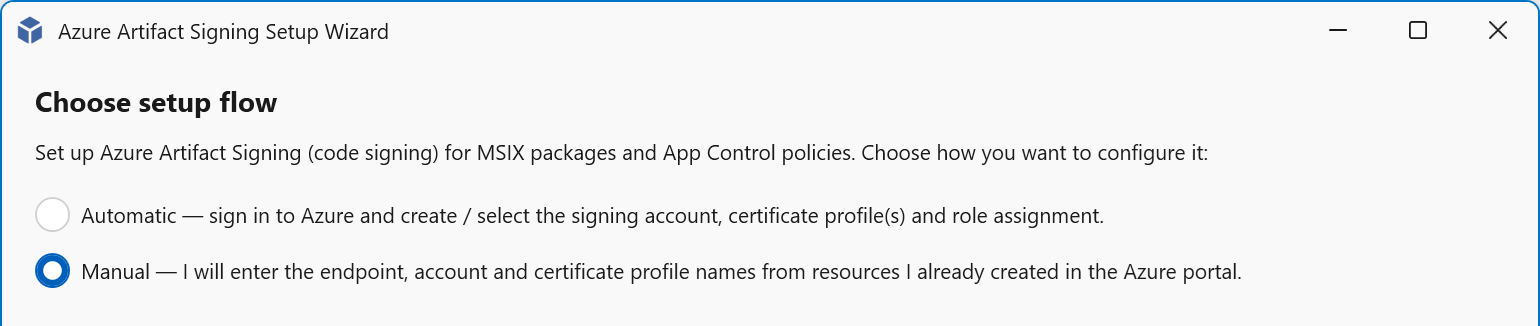
With the automatic option, a wizard guides you through the necessary steps. Select Automatic and click Next.
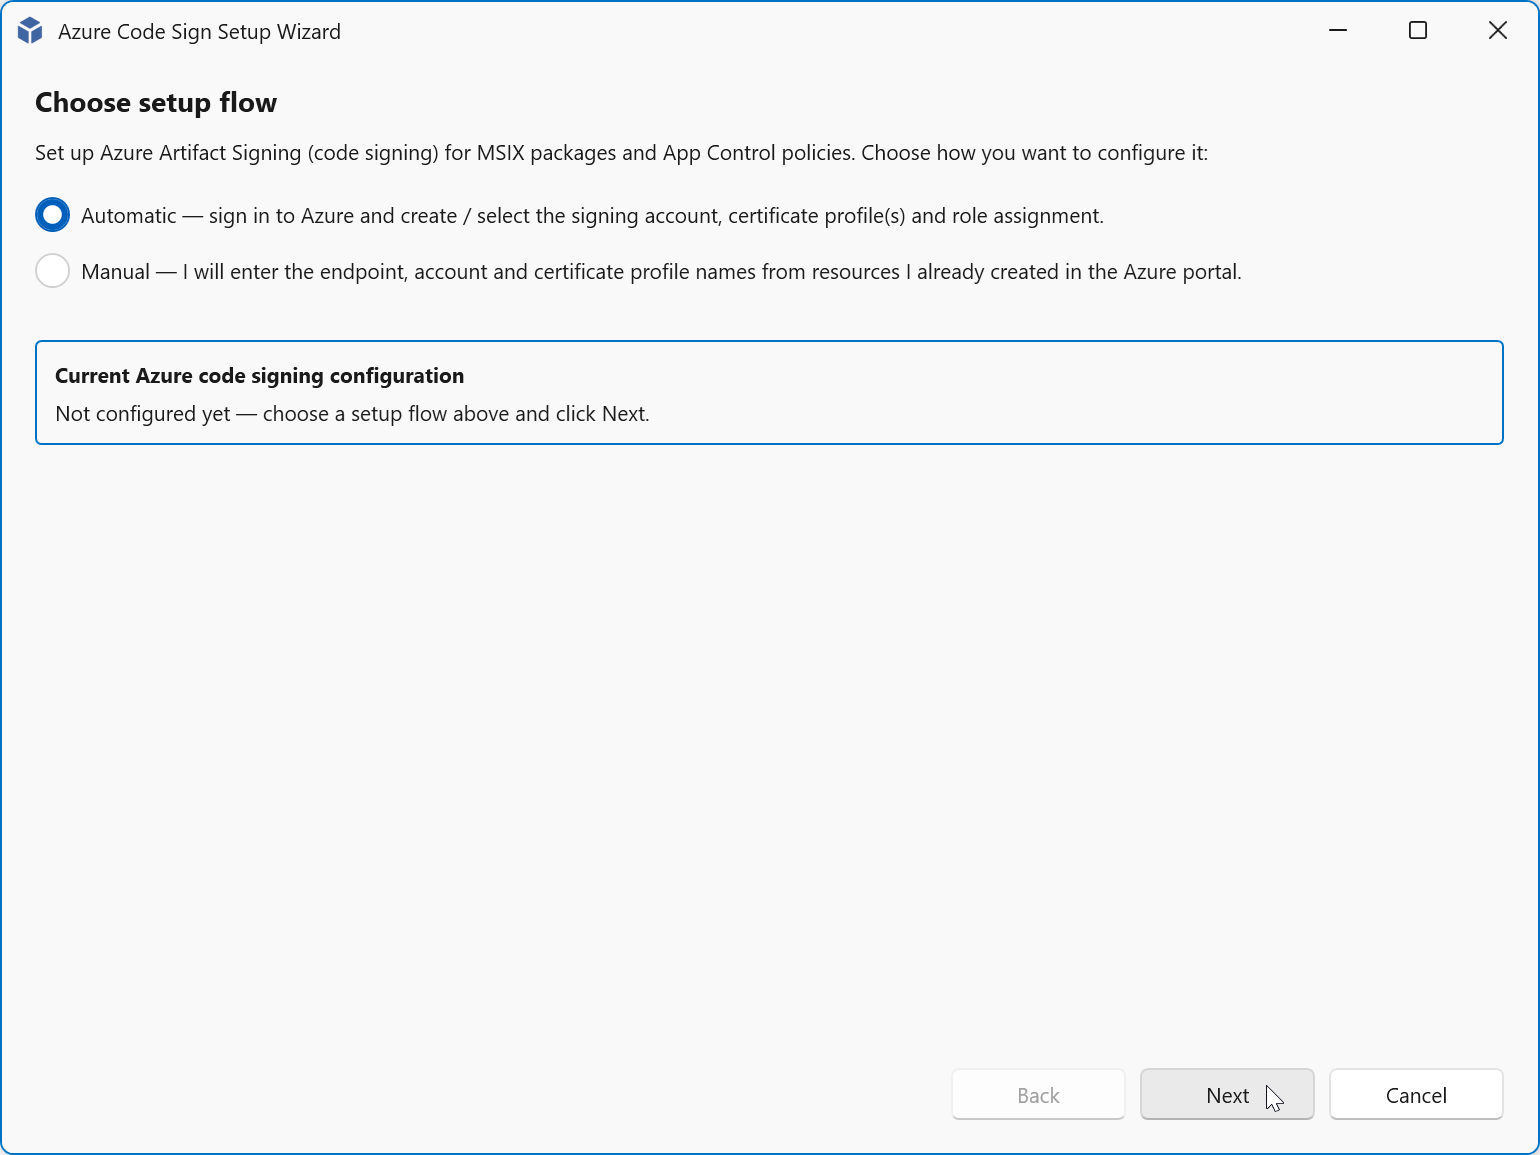
Make sure that all required modules and software are installed before continuing.
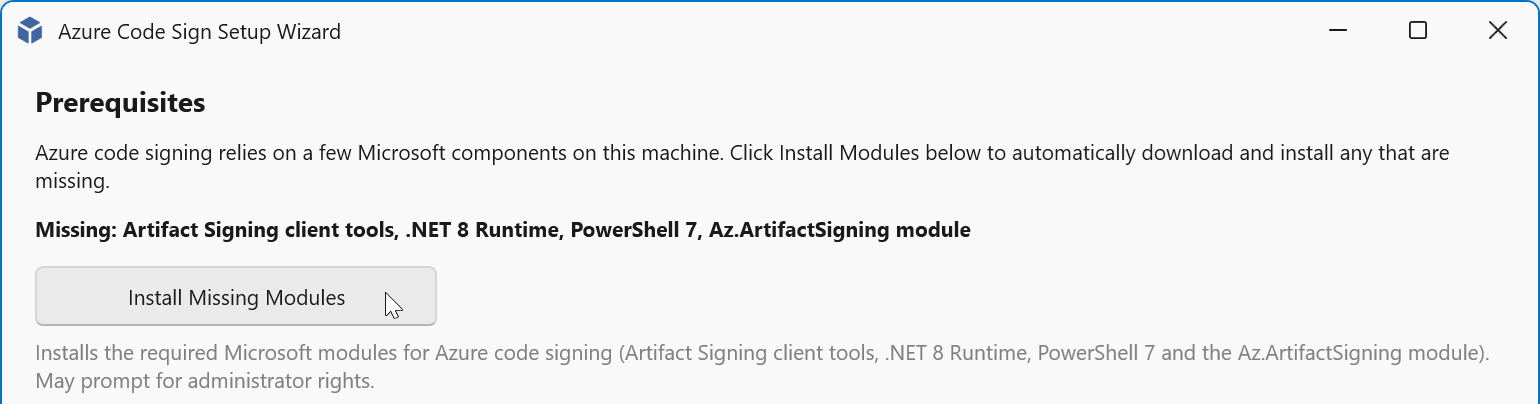
Installation of required modules
Install via WinGet:
winget install --id Microsoft.Azure.ArtifactSigningClientTools
winget install --id Microsoft.DotNet.DesktopRuntime.8
winget install --id Microsoft.PowerShell --source winget --installer-type wix
cd "C:\Program Files\PowerShell\7"
.\pwsh.exe -Command "Install-Module -Name Az.ArtifactSigning -Force"
Or you can download the software here and install it yourself:
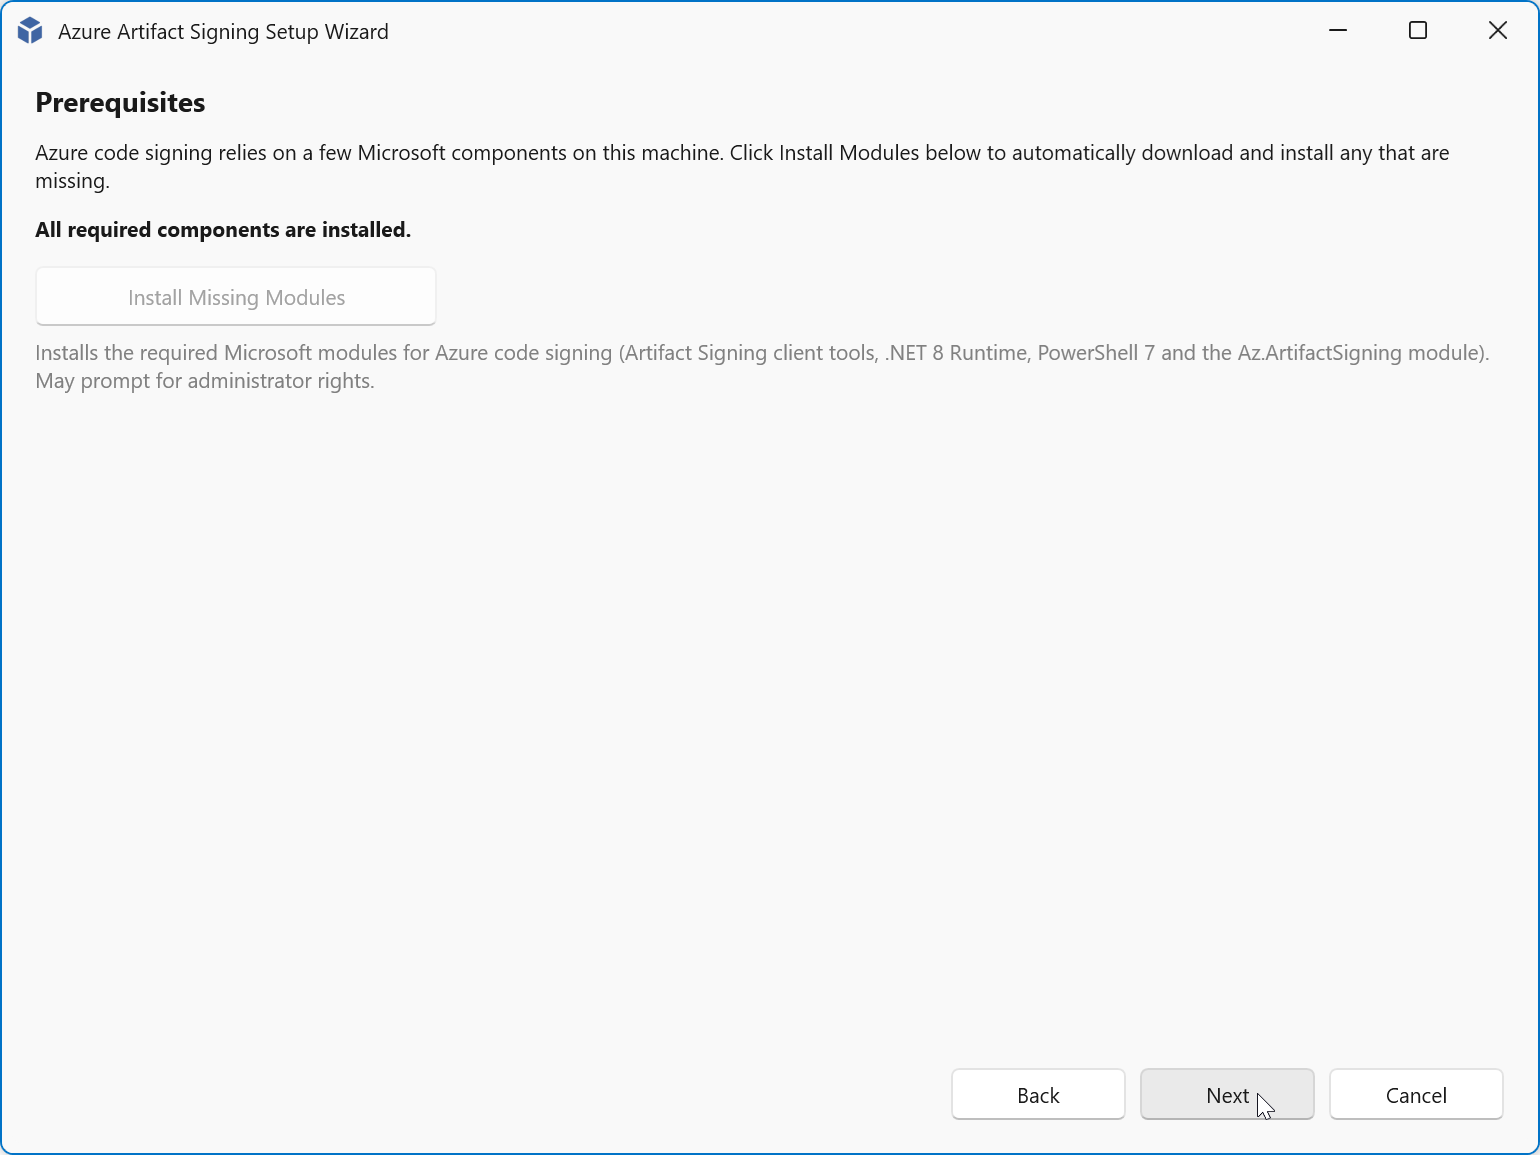
If all prerequisites are installed, click Next to continue with the next step.
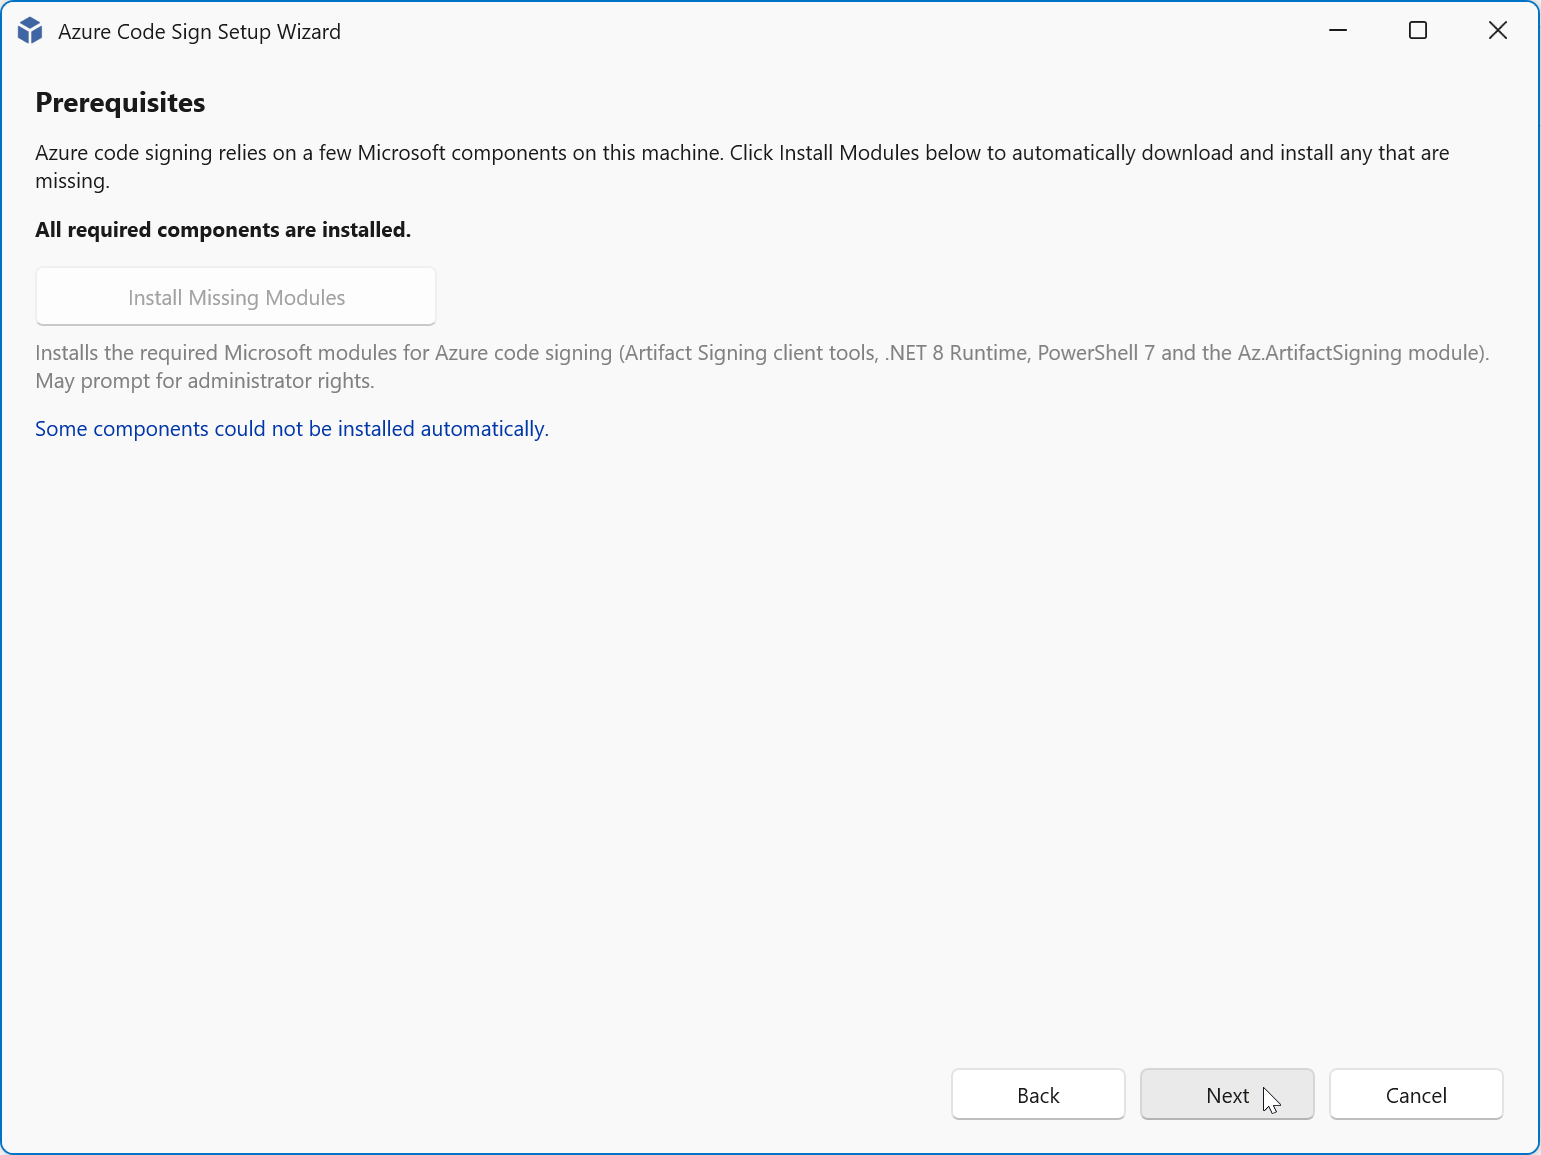
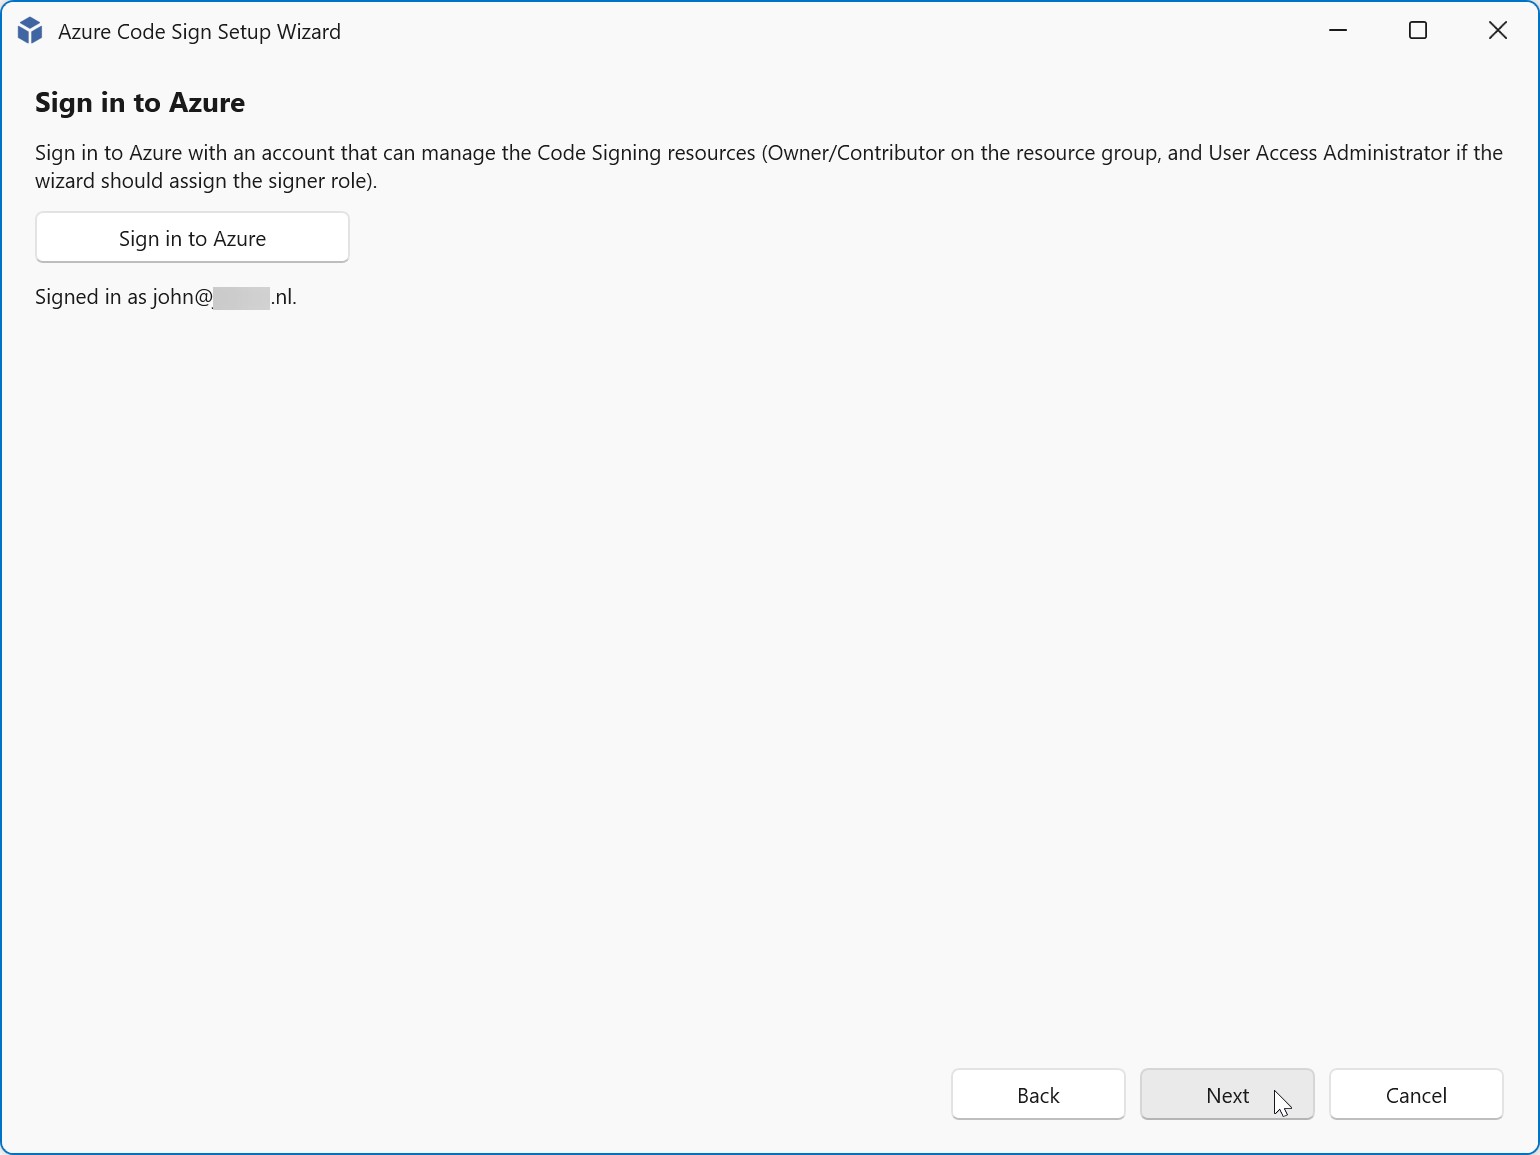
Click Sign in to Azure.
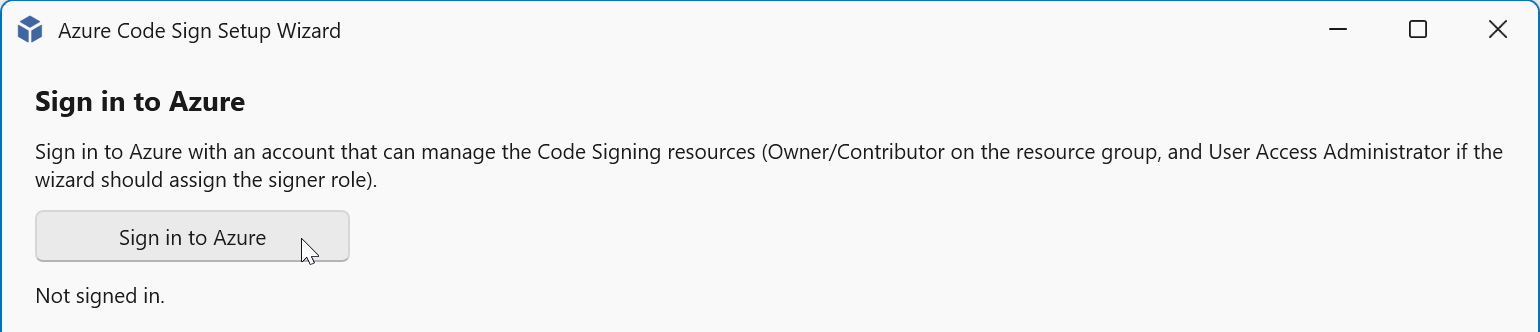
Close the browser when authentication is successful.
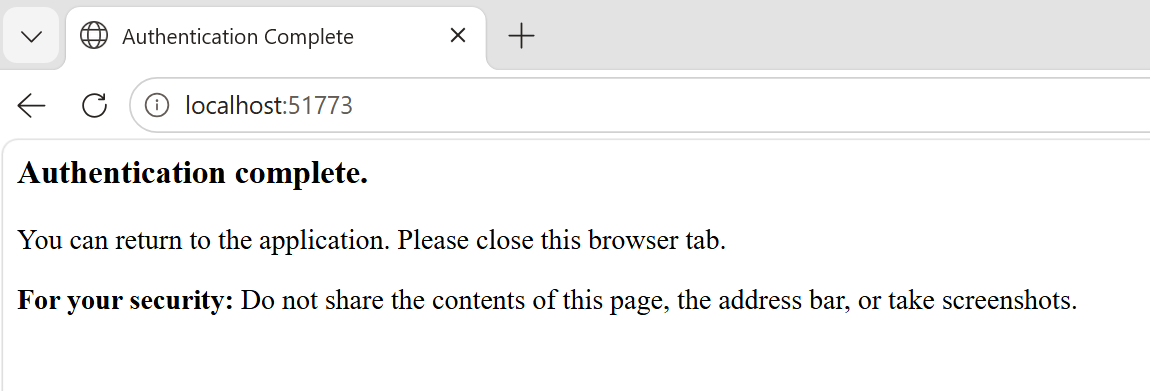
When signed in, click Next.
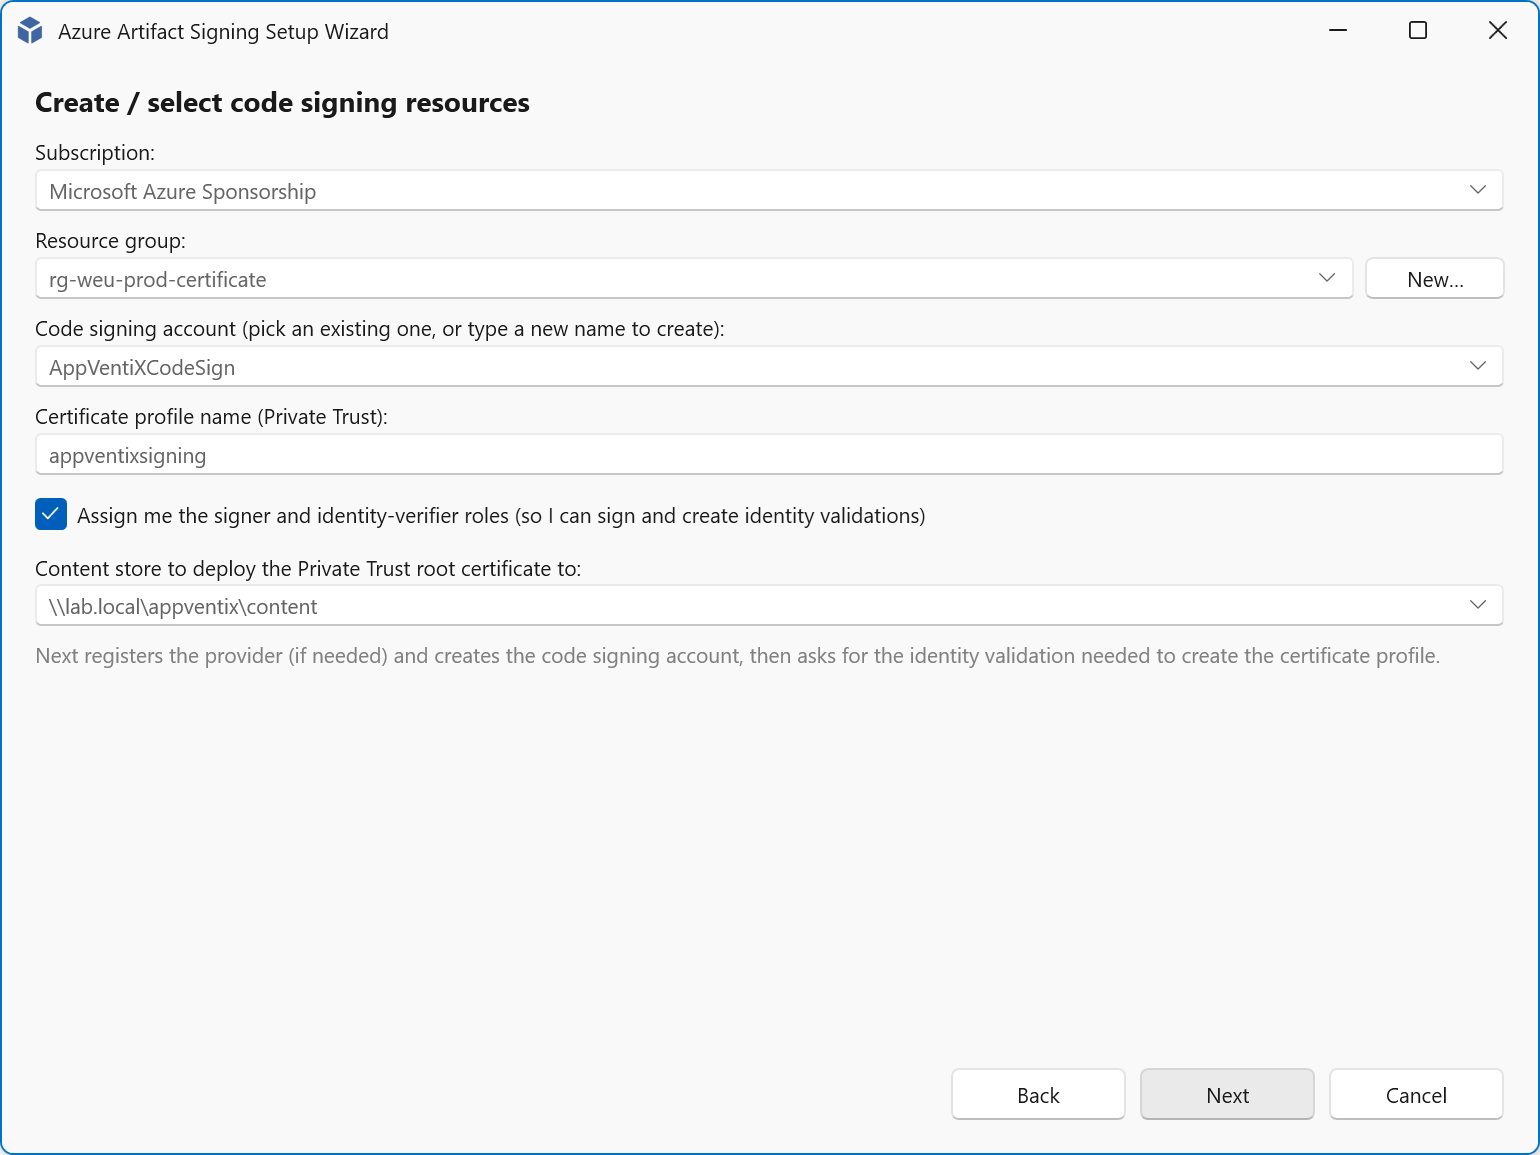
Select the Subscription you want to use for the code signing certificate. Select or create a new Resource Group in which to create the code signing certificate. Enter a code signing account (Artifact Signing account). The profile name is pre-filled, but you can change the name. Select the Assign me the signer and identity-verifier roles ... checkbox, or assign these roles manually in the Azure portal. Select the store to which the certificate will be deployed.
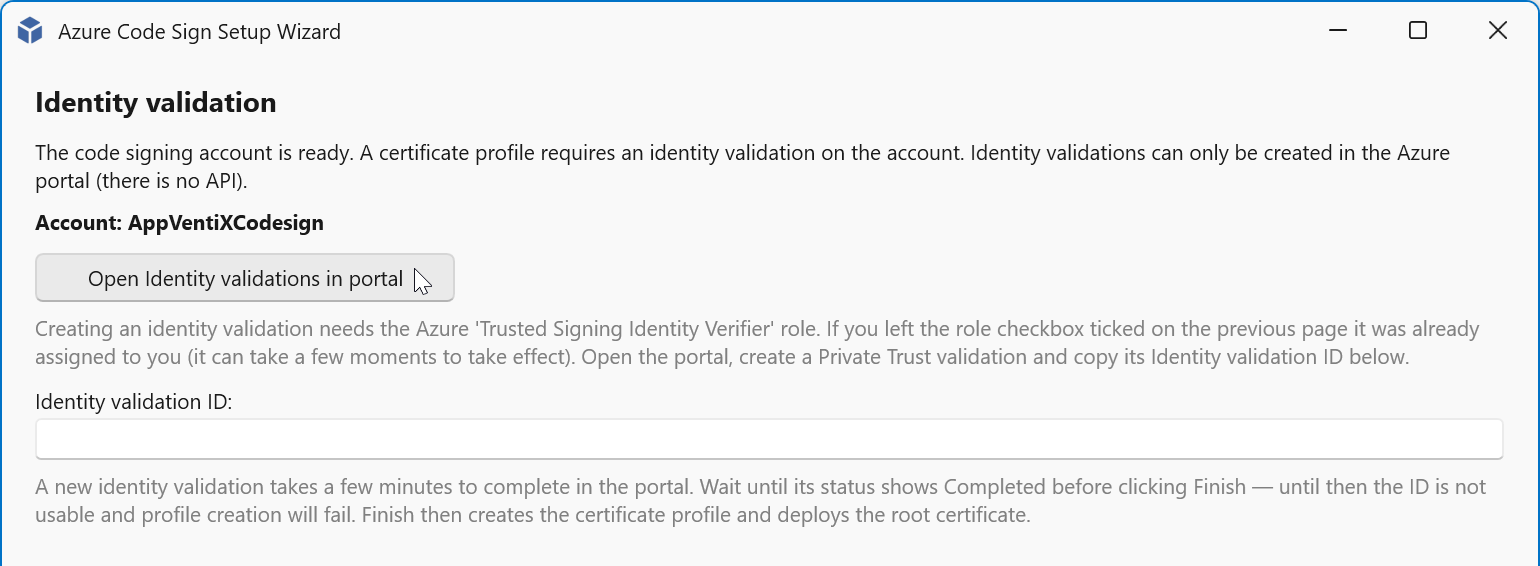
Click the Open identity validations in portal button.
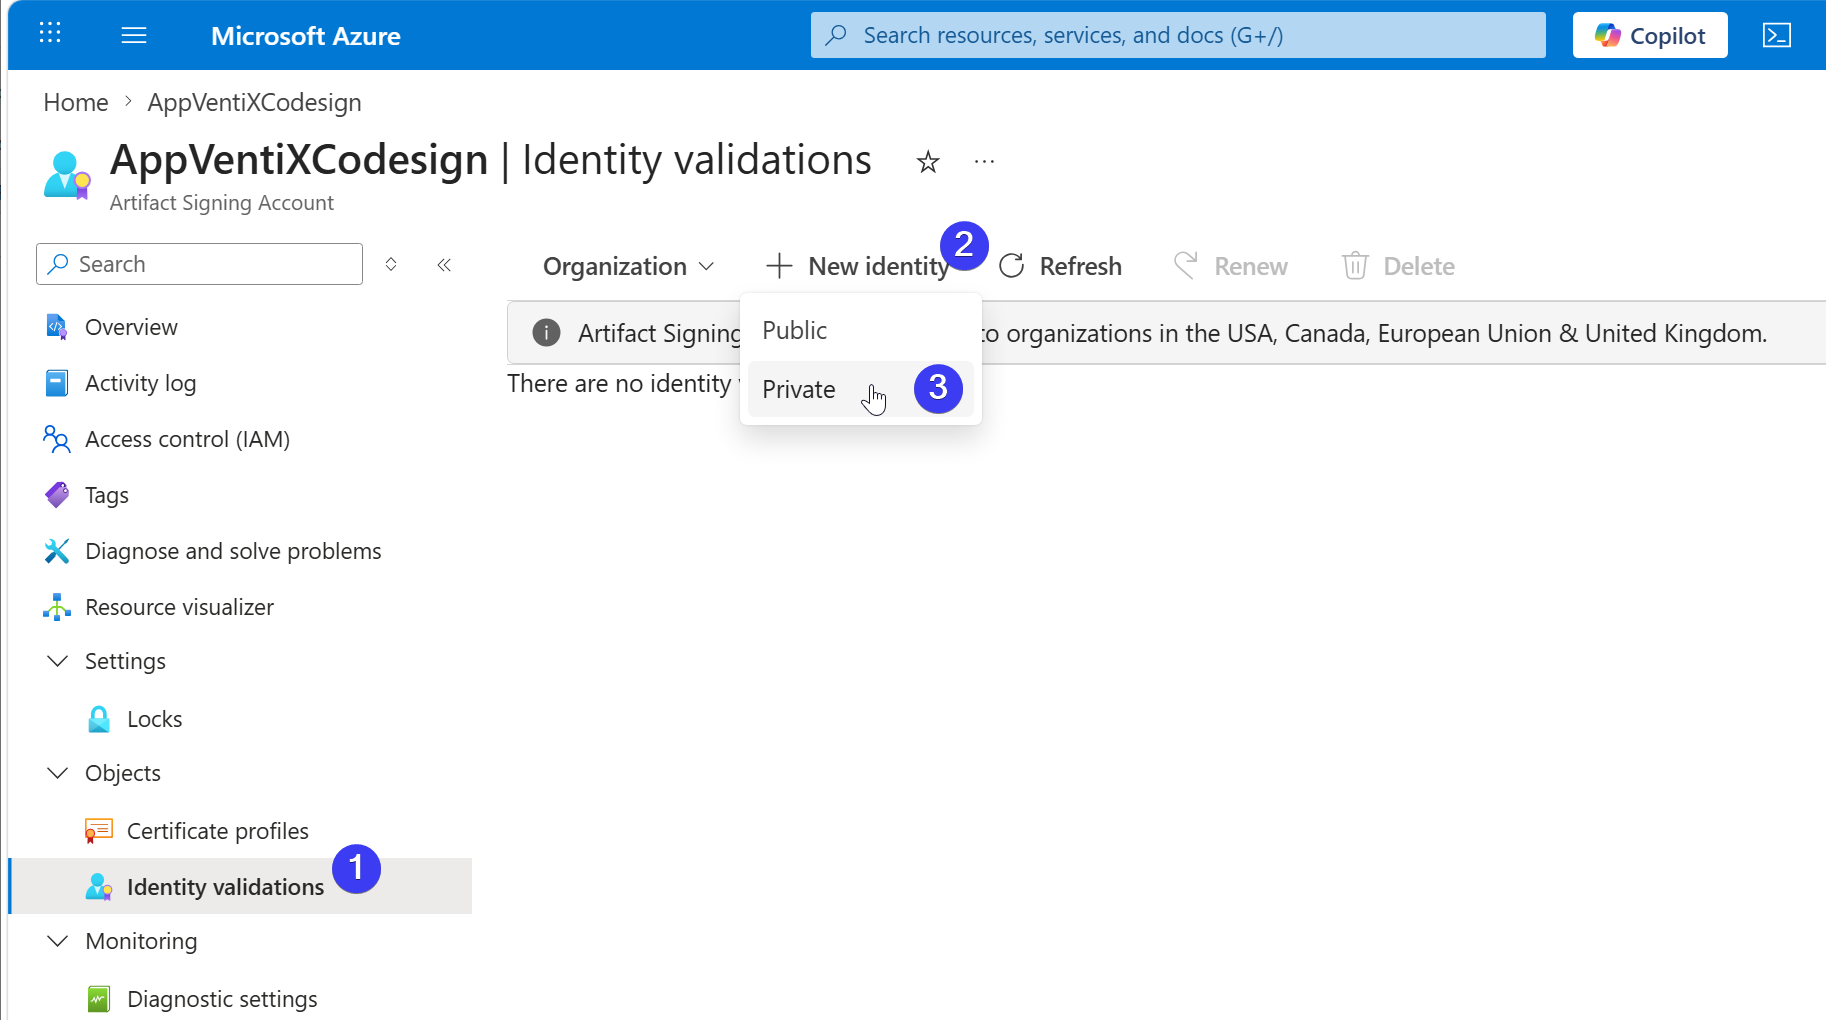
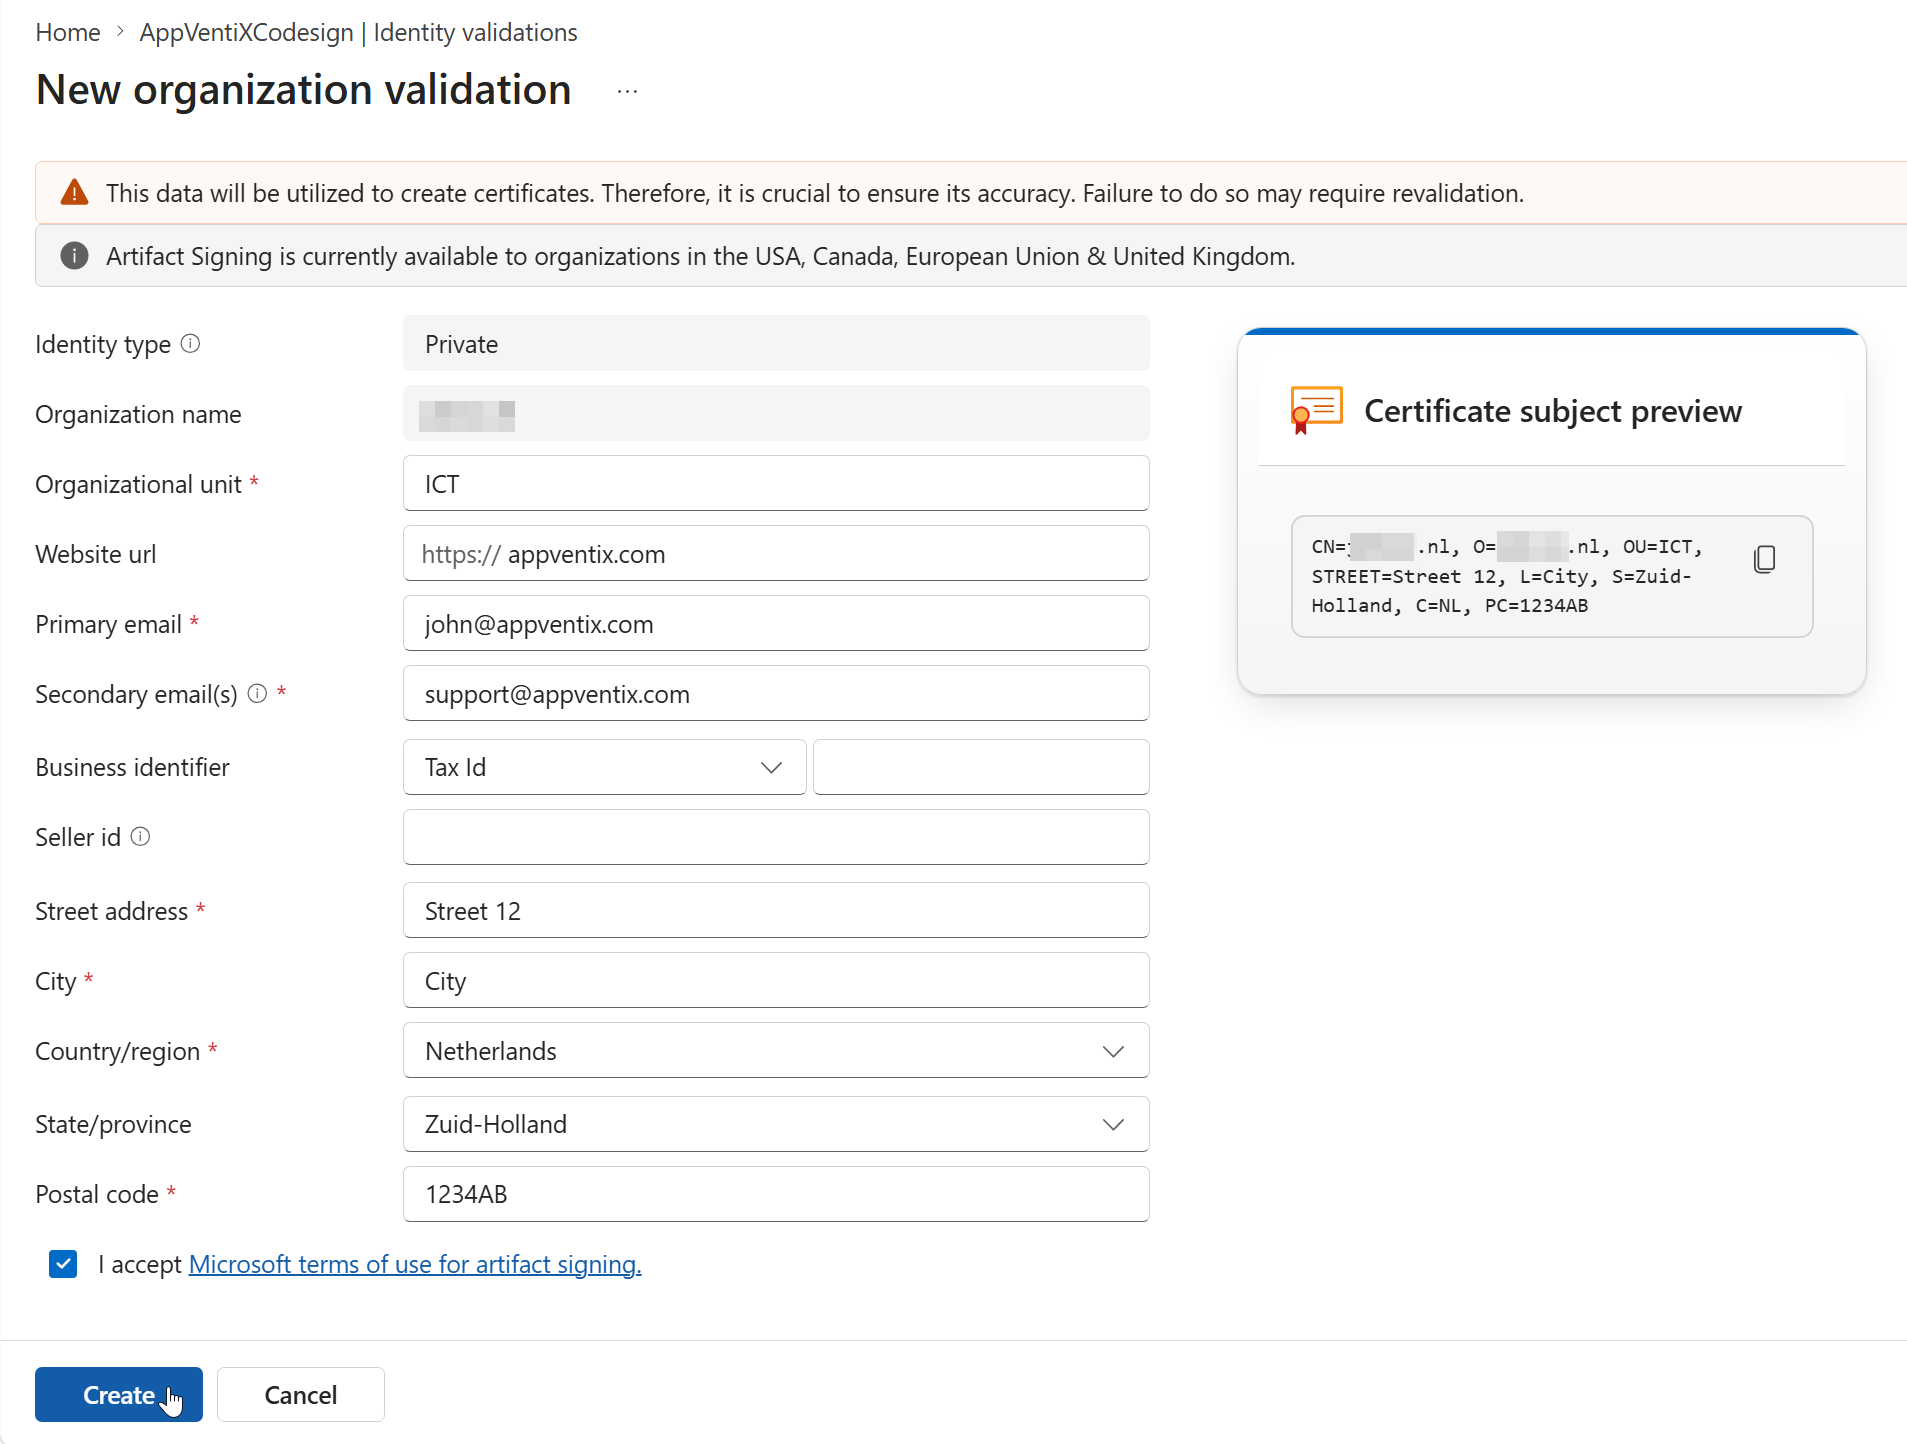
A browser opens with the newly created Artifact Signing account. In the Objects menu on the left side, click (1) Identity validations. Next, click New identity and select Private.
Make sure all required fields are filled and click Create when finished.
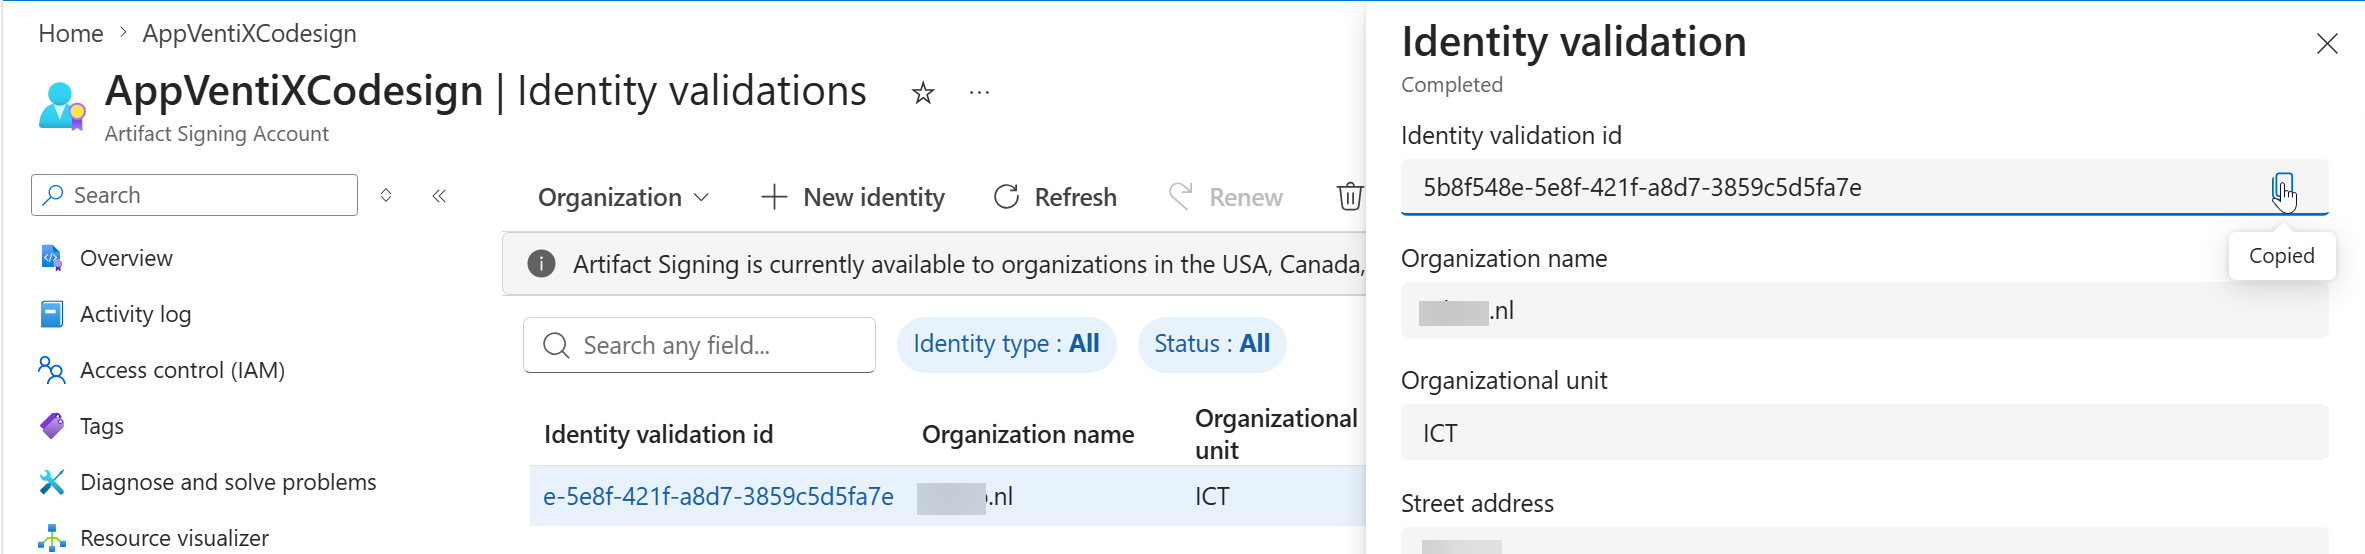
It can take a short while. You may have to click the Refresh link, but eventually, if everything is in order, the status changes to Completed. Click the Identity validation id and copy the value to the clipboard on the next screen.
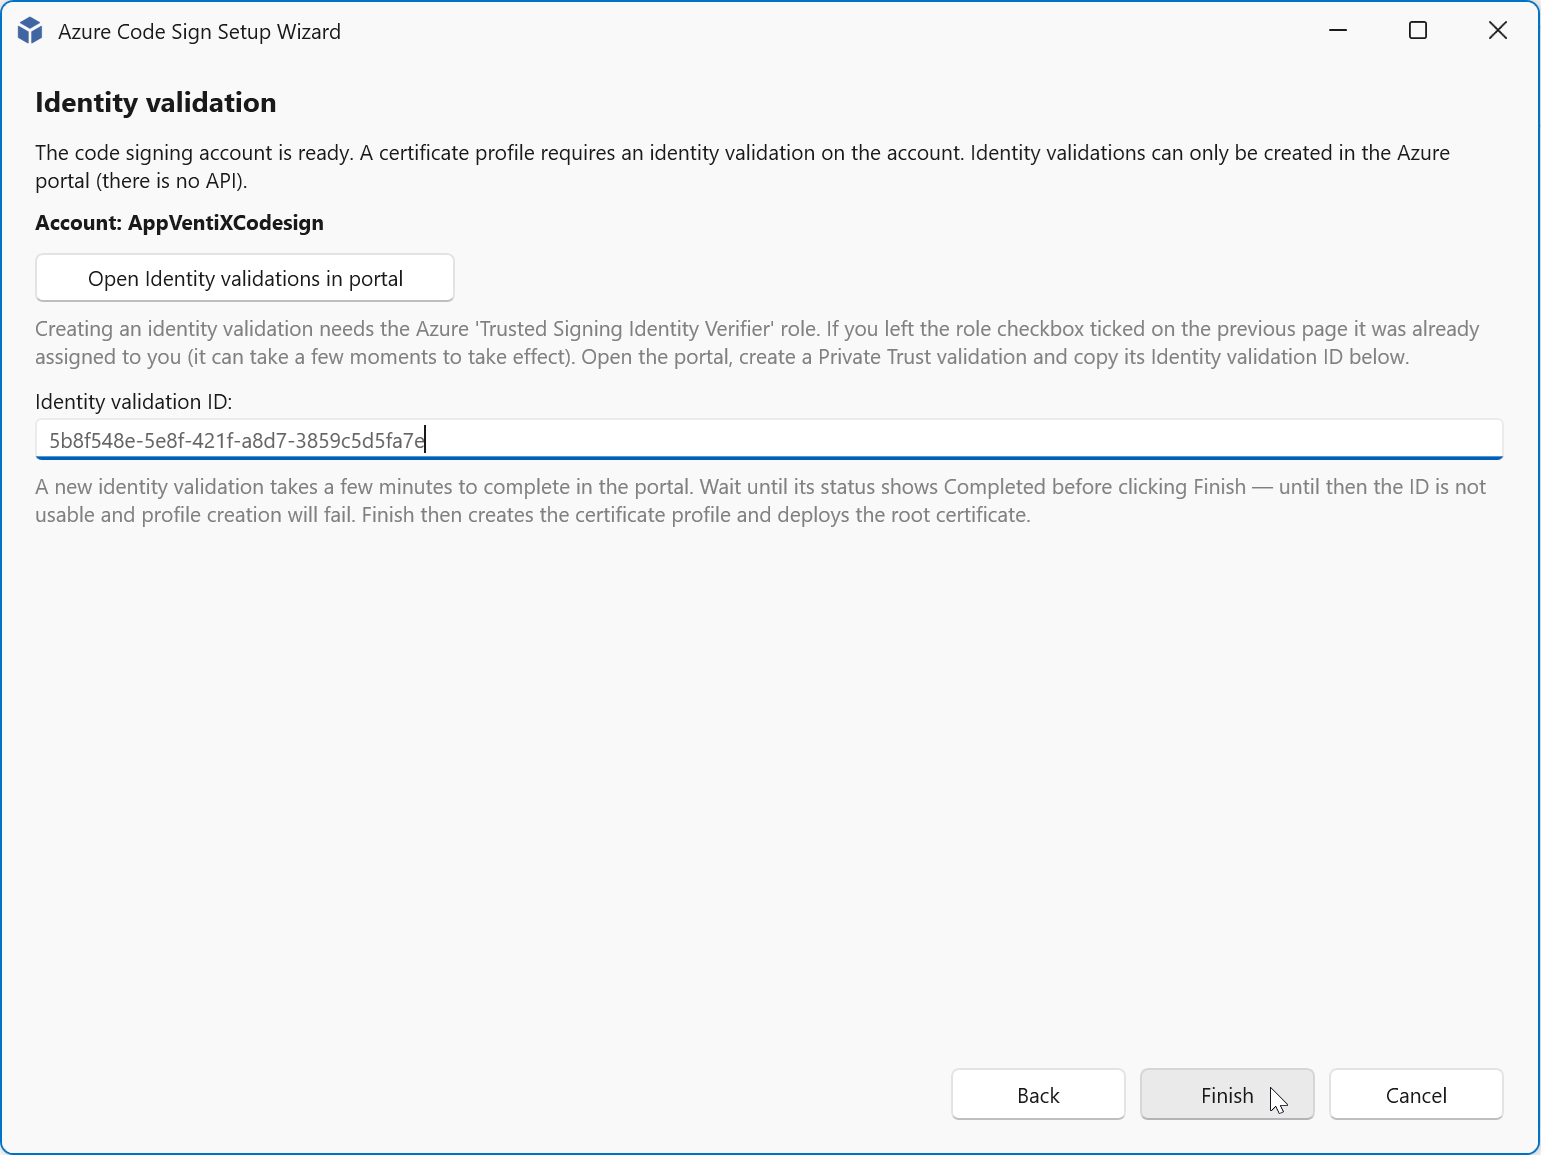
Paste the copied Identity validation ID in the field of the same name and click Finish to close the wizard.
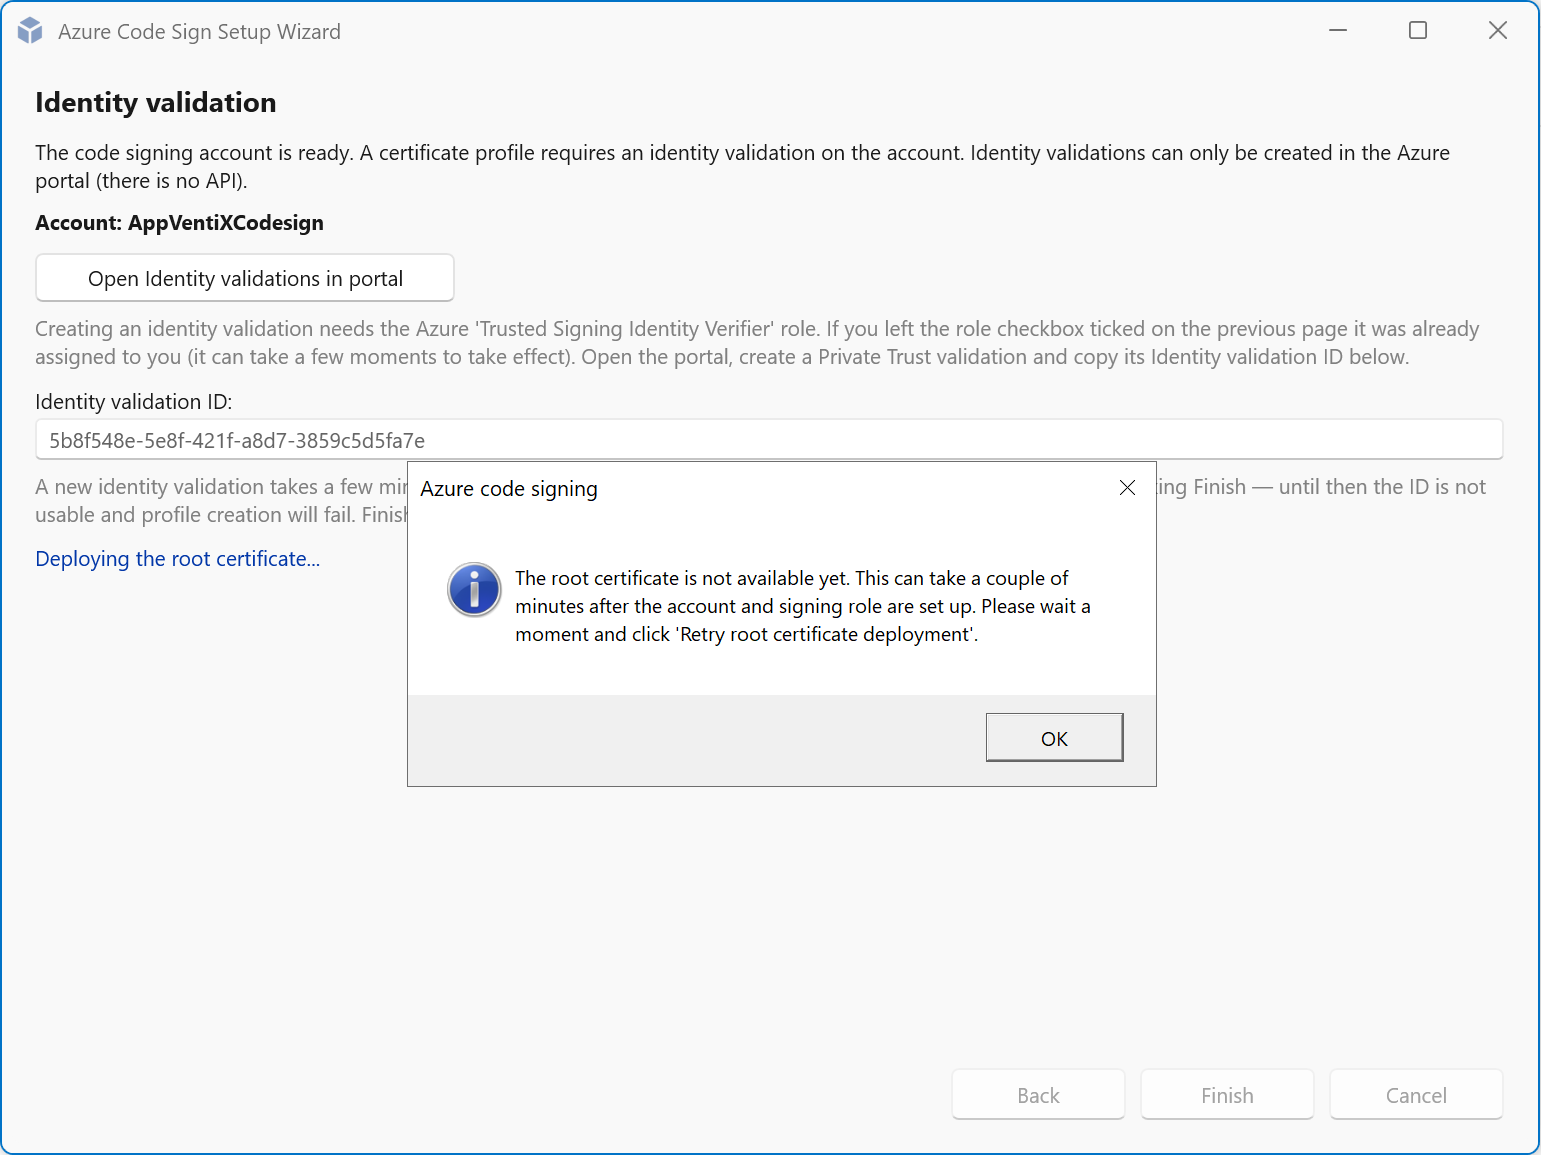
You might get a popup stating that the root is not (yet) valid, or you may have waited too long and the authentication has expired. You can follow the manual steps to select the already created certificate and finalize the wizard.
Manual
Select the Manual option and click Next.
Before continuing, make sure the required modules are installed. Click Next to continue.
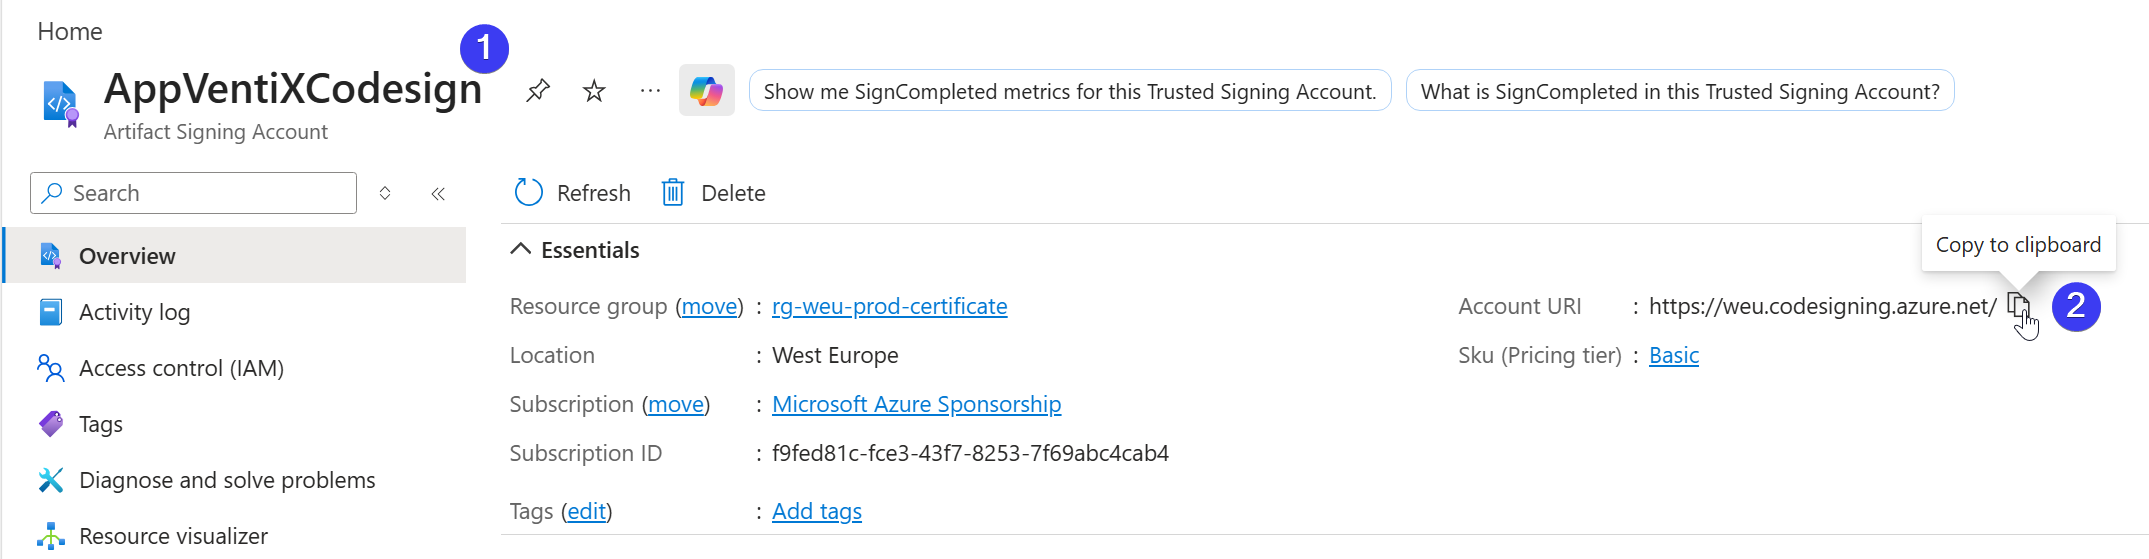
Log in to Azure and open your Artifact Signing account. Make a note of your Artifact Signing account name (1) and the account URI (2).
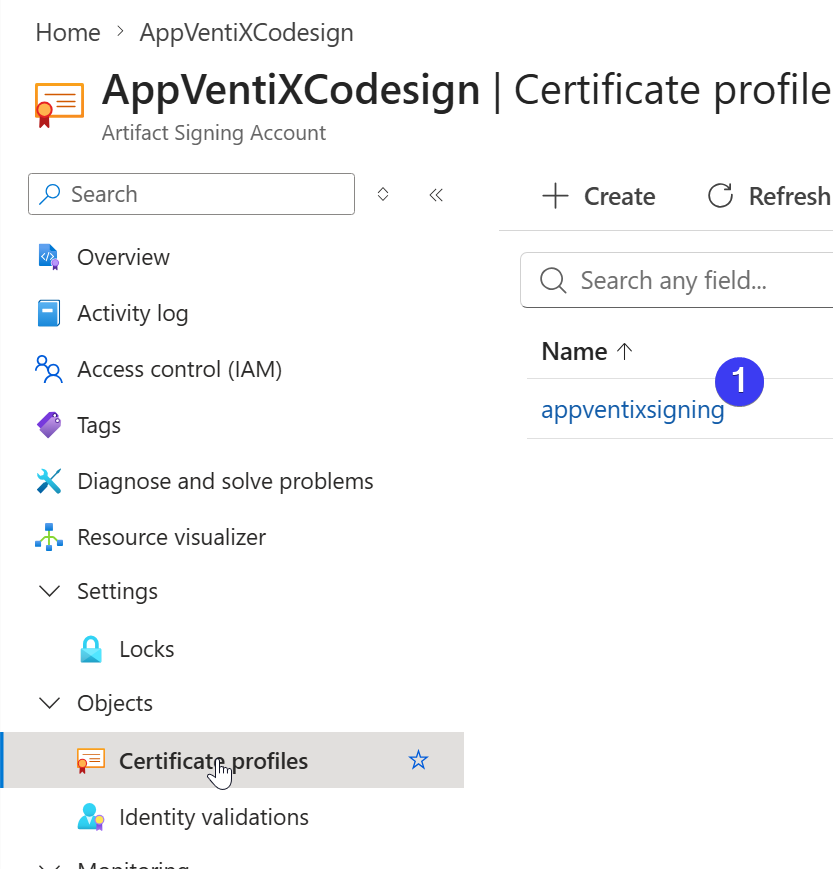
Under Certificate profiles, make a note of the profile name.
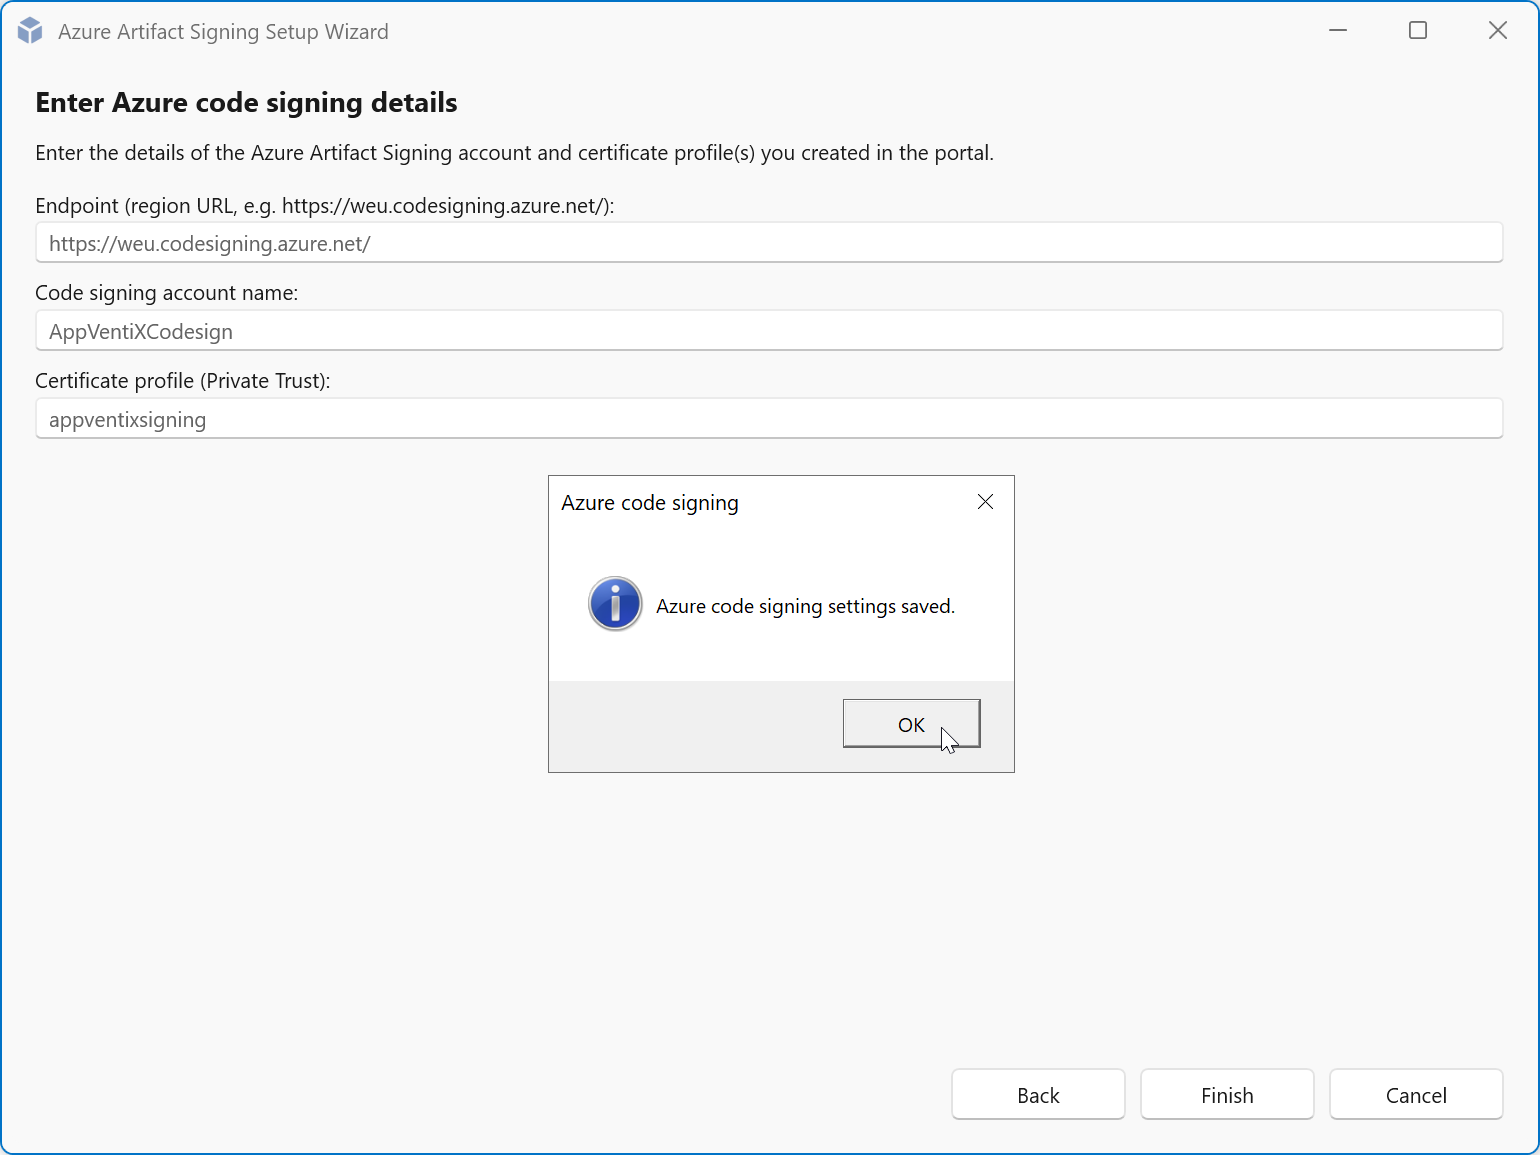
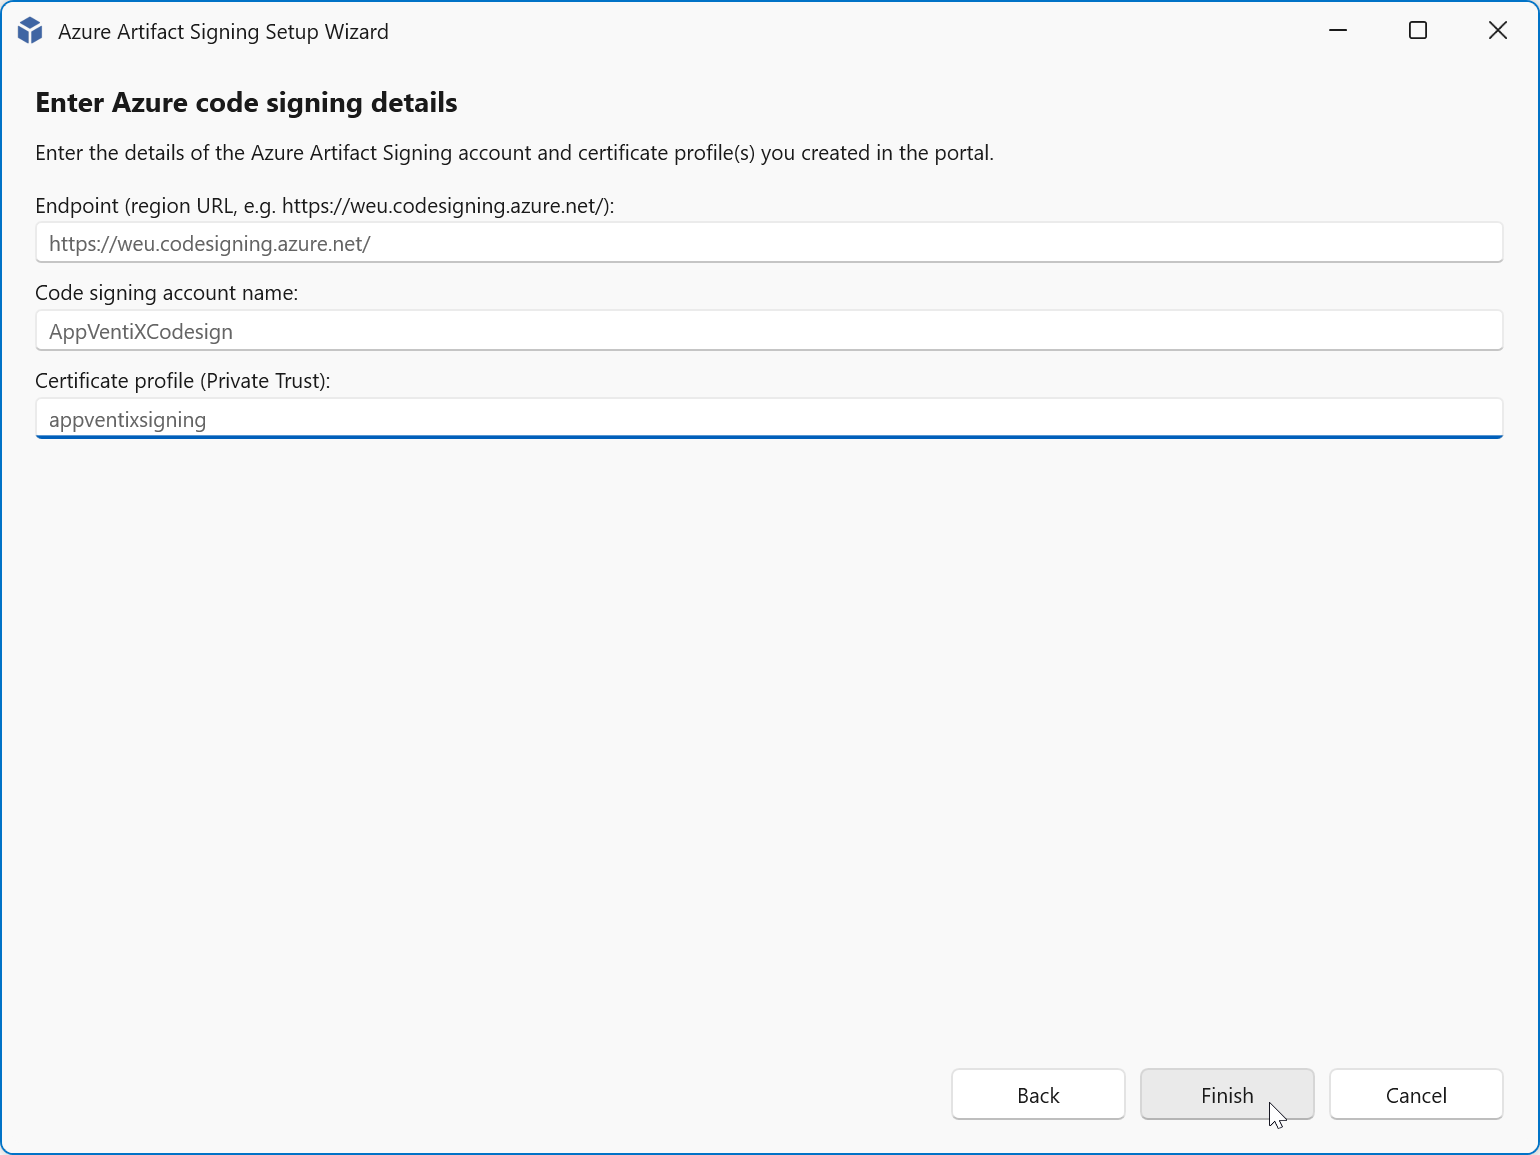
Fill the fields with the gathered values and click Finish.
Click OK.