AppVentiX Central View Installation
Requirements
Before installing, ensure the following requirements are met:
- The machine must have a 64-bit OS (Server OS or Client OS)
- The configuration and content share must be accessible and configured correctly
- The machine may not be a Domain Controller
Download
Download the latest version directly from https://download.appventix.com/latest, or click the Download button in the top-right corner of the AppVentiX website.

Install AppVentiX Central View
Extract AppVentiX Central View.msi from the downloaded zip file, then open it to start the installer.
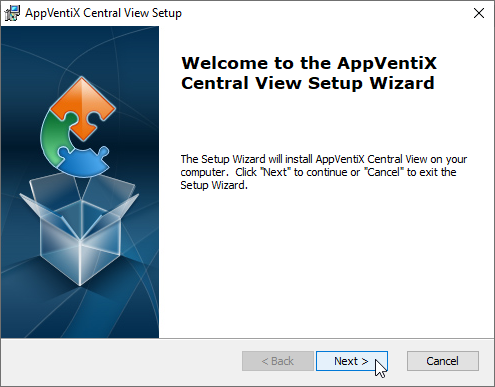
Click Next to begin.
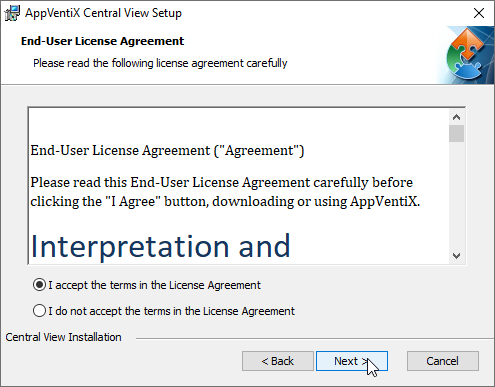
Accept the license terms and click Install to continue.
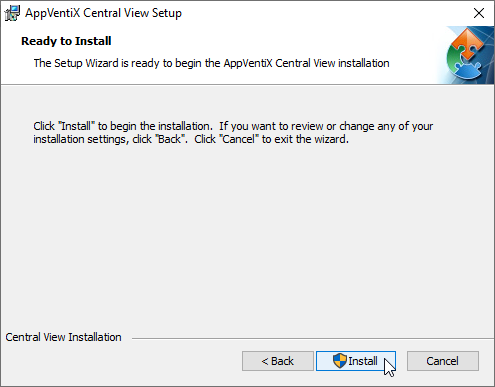
Click Install to start the installation.
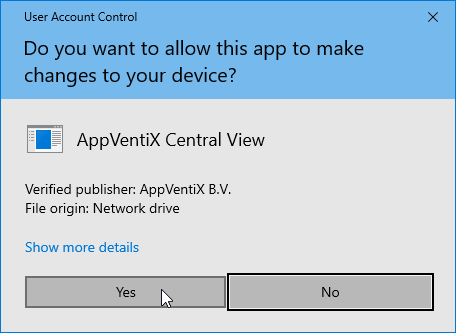
Approve the UAC prompt if it appears.
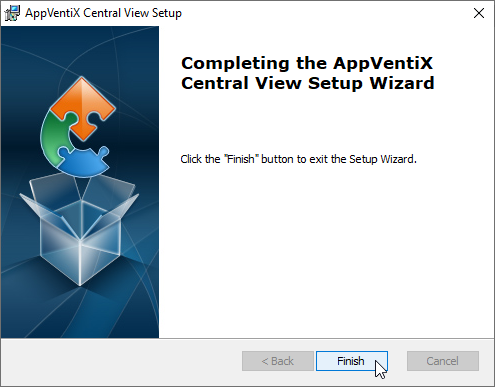
Click Finish to complete the installation.
Start the Central View Console
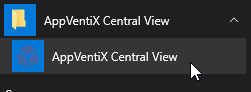
Launch AppVentiX Central View from the shortcut added to your Start Menu.
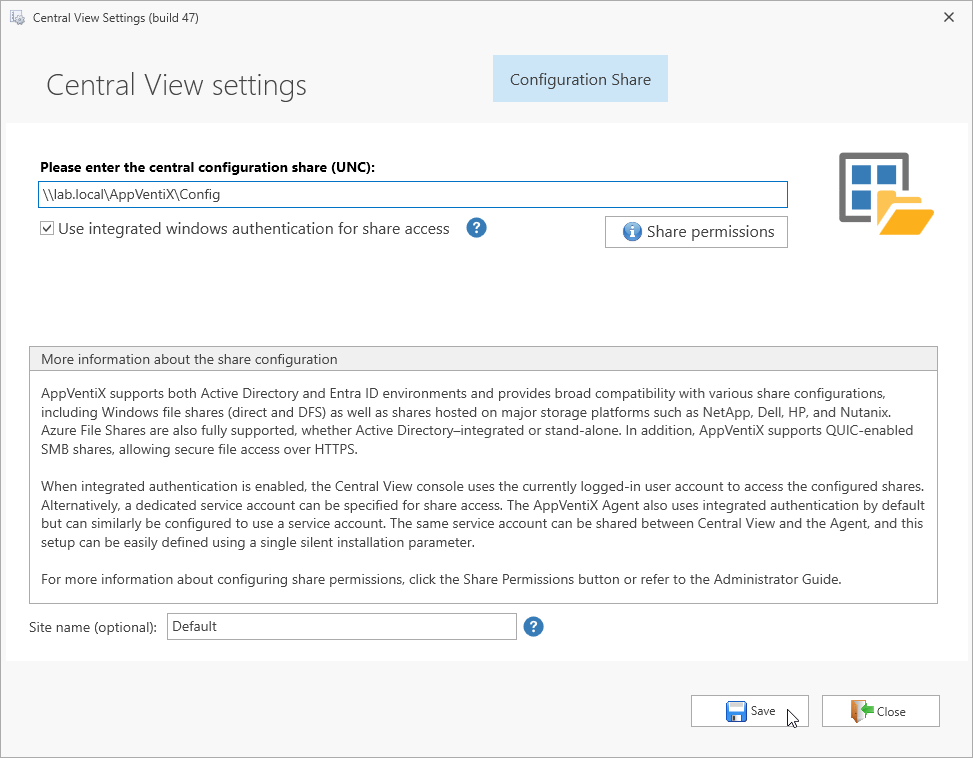
On first launch (no existing configuration), the Central View settings window will open.
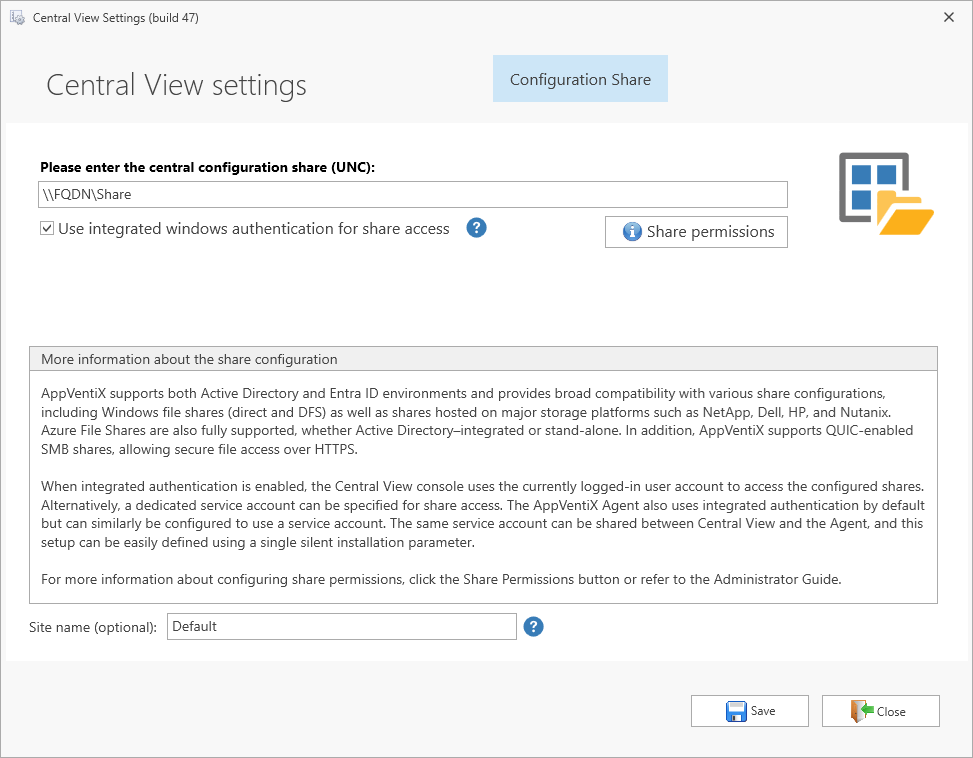
If you already have a Configuration Store path, enter it and click Save. If you need to set one up first, follow 2. Configuration Store setup.
Note: The default Central View settings are sufficient in most cases. Additional settings can be configured when needed - see this guide for details.
IMPORTANT: Verify that permissions are configured correctly before continuing. Incorrect permissions will cause issues during configuration.
You can optionally enter a site name. When all details are complete, click Save.
AppVentiX Central View is now ready to use.
