Install the AppVentiX Agent
The AppVentiX Agent handles application delivery on the client machine. It connects to the configuration store to retrieve its configuration and publishing tasks.
Prerequisites
Before installing the agent, ensure the following:
- A supported version of Windows is installed on the machine or master image
- The AppVentiX configuration store is accessible from the machine
- You have sufficient permissions to install software (local administrator)
Locating the Installer
The agent installer is located on the AppVentiX configuration store:
Replace \\fileserver.domain.local\config with the actual path to your configuration store.
Installation
Now that the Central View console is up and running, install the agent. The agent can be pushed remotely to machines (even when users are logged in, no reboot is needed) or installed silently using an automated procedure, like an image build procedure or pipeline. When an older version of the agent is detected, it will be upgraded automatically.
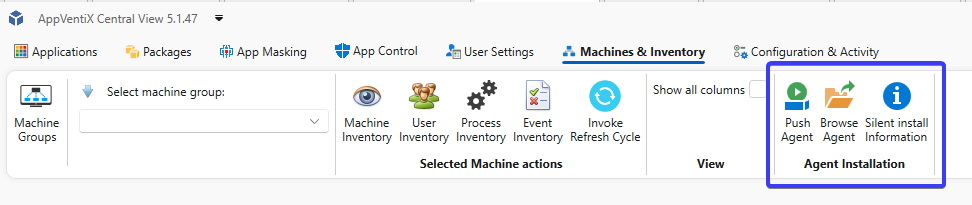
Option A: Push Agent
In the Central View Console:
- select Manage Machines.
- Select one or multiple machines and click on the Push Agent button.
The agent will now be installed or upgraded automatically.
Option B: GUI Installation
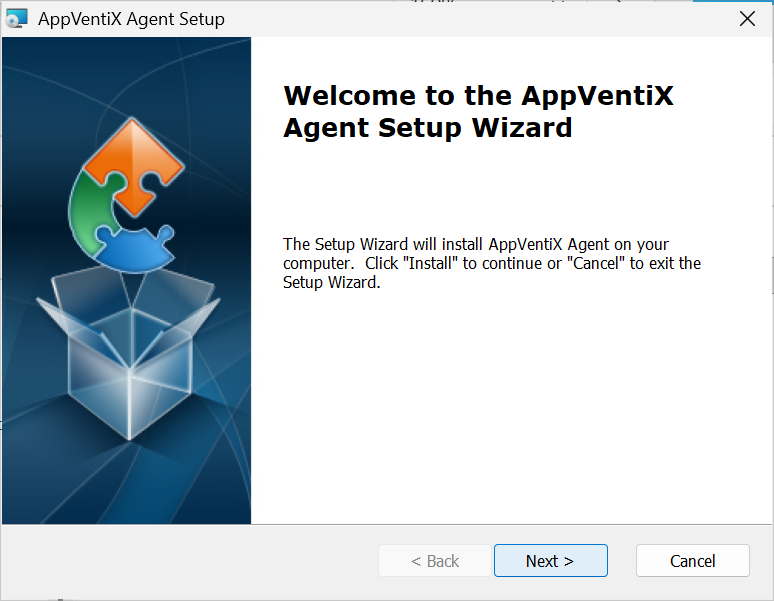
Run AppVentiX Agent.msi by double-clicking it.
Click Next to start the installation.
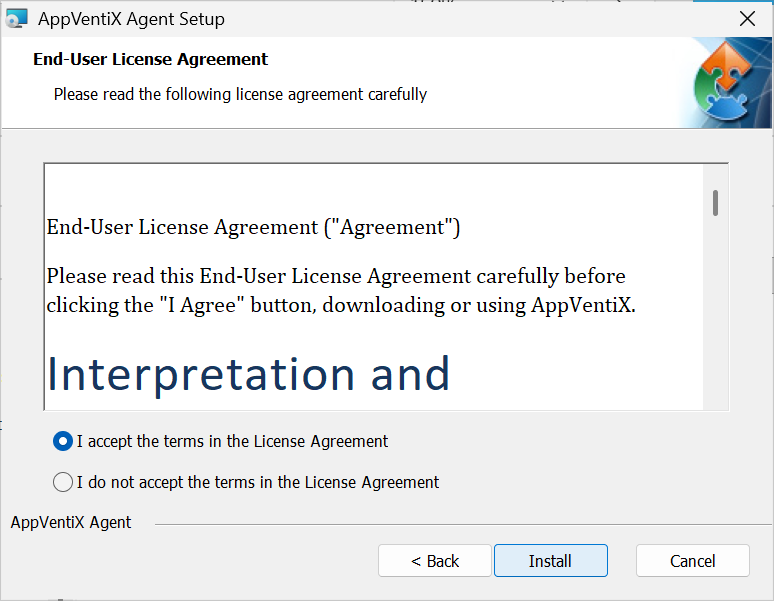
Click "I accept the Terms..." to agree and click Install to continue to the next step.
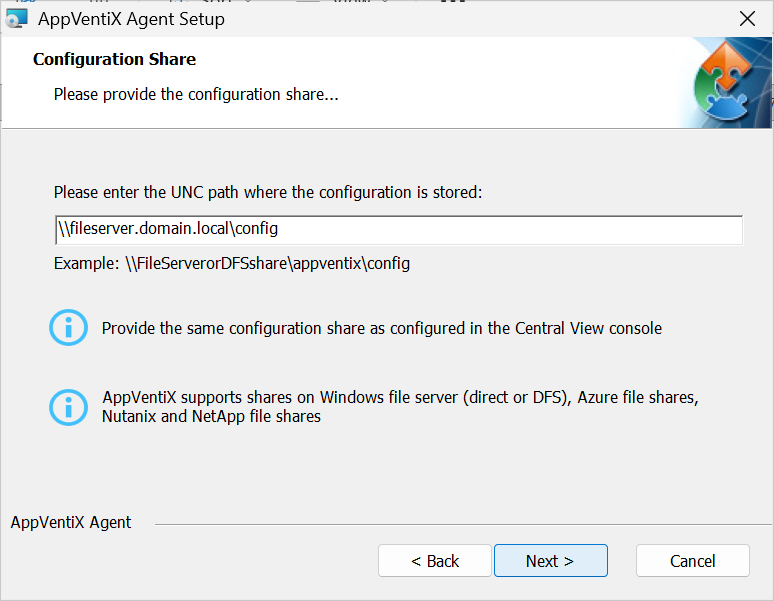
Enter the full path to your configuration store and click Next to start the installation.
Note: Replace
\\fileserver.domain.local\configwith the actual path to your configuration store.
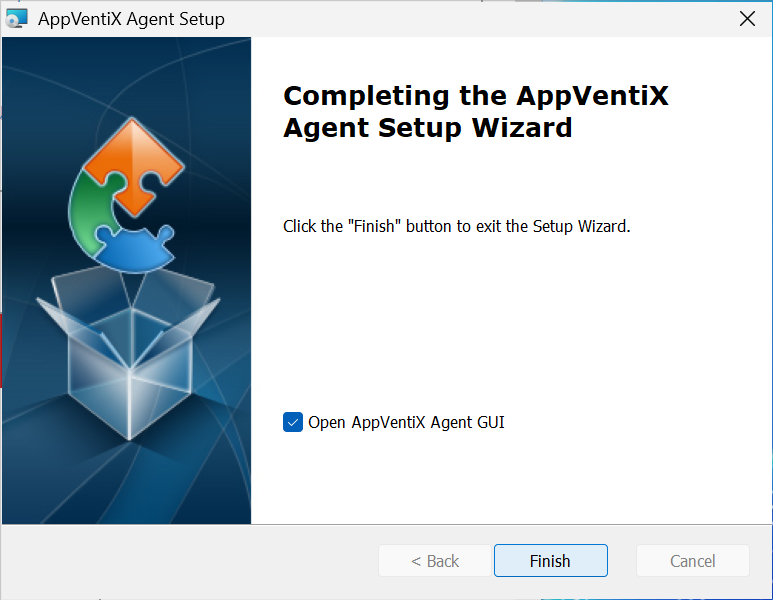
Uncheck the "Open AppVentiX Agent GUI" to close or leave checked to open the Agent GUI after the installation. Click Finish to complete the installation.
Option C: Silent Installation
For scripted or image-based deployments, use the following command:
Replace \\fileserver.domain.local\config with the actual path to your configuration store.
The /quiet switch suppresses all UI. The CONFIGURATIONSHARE parameter tells the agent where to find its configuration. This is the only required parameter beyond the standard MSI switches.
Note: For non-persistent VDI and SBC environments, run the silent installation on the master image before sealing it. Depending on the configuration certain tasks can run before the image is sealed.
After Installation
Once installed, the agent connects to the configuration store and retrieves its configuration automatically. No further manual configuration is required on the client.
Proceed to Step 4: Verify the Agent or optionally Optimize the Workspace before verifying.